There is one mistake that’s unrecoverable, and that’s taking an un-sharp photograph. You could have researched the perfect time and place to catch that evening glow. When you get there, the scene is exactly what you were hoping for. Only to get home, load the images into Lightroom, zoom in, and feel your heart break when the image isn’t sharp.
If you make a mistake in post-processing, you can re-edit a raw file without issue, but the only place to put a blurry photo is in the trash can.
I’ve been there before. In fact, many years ago, I planned for months to get the panorama of my home city. I got in touch with the owner of a high-rise condo downtown, and waited six months until the sun was setting in the right place over the harbour, only to be devastated when the image came back out of focus. You could have done everything right, had the best camera gear available, but if you don’t understand these fundamentals of photography, you’ll come home with bad images.
What part of the image do you want sharply in focus?
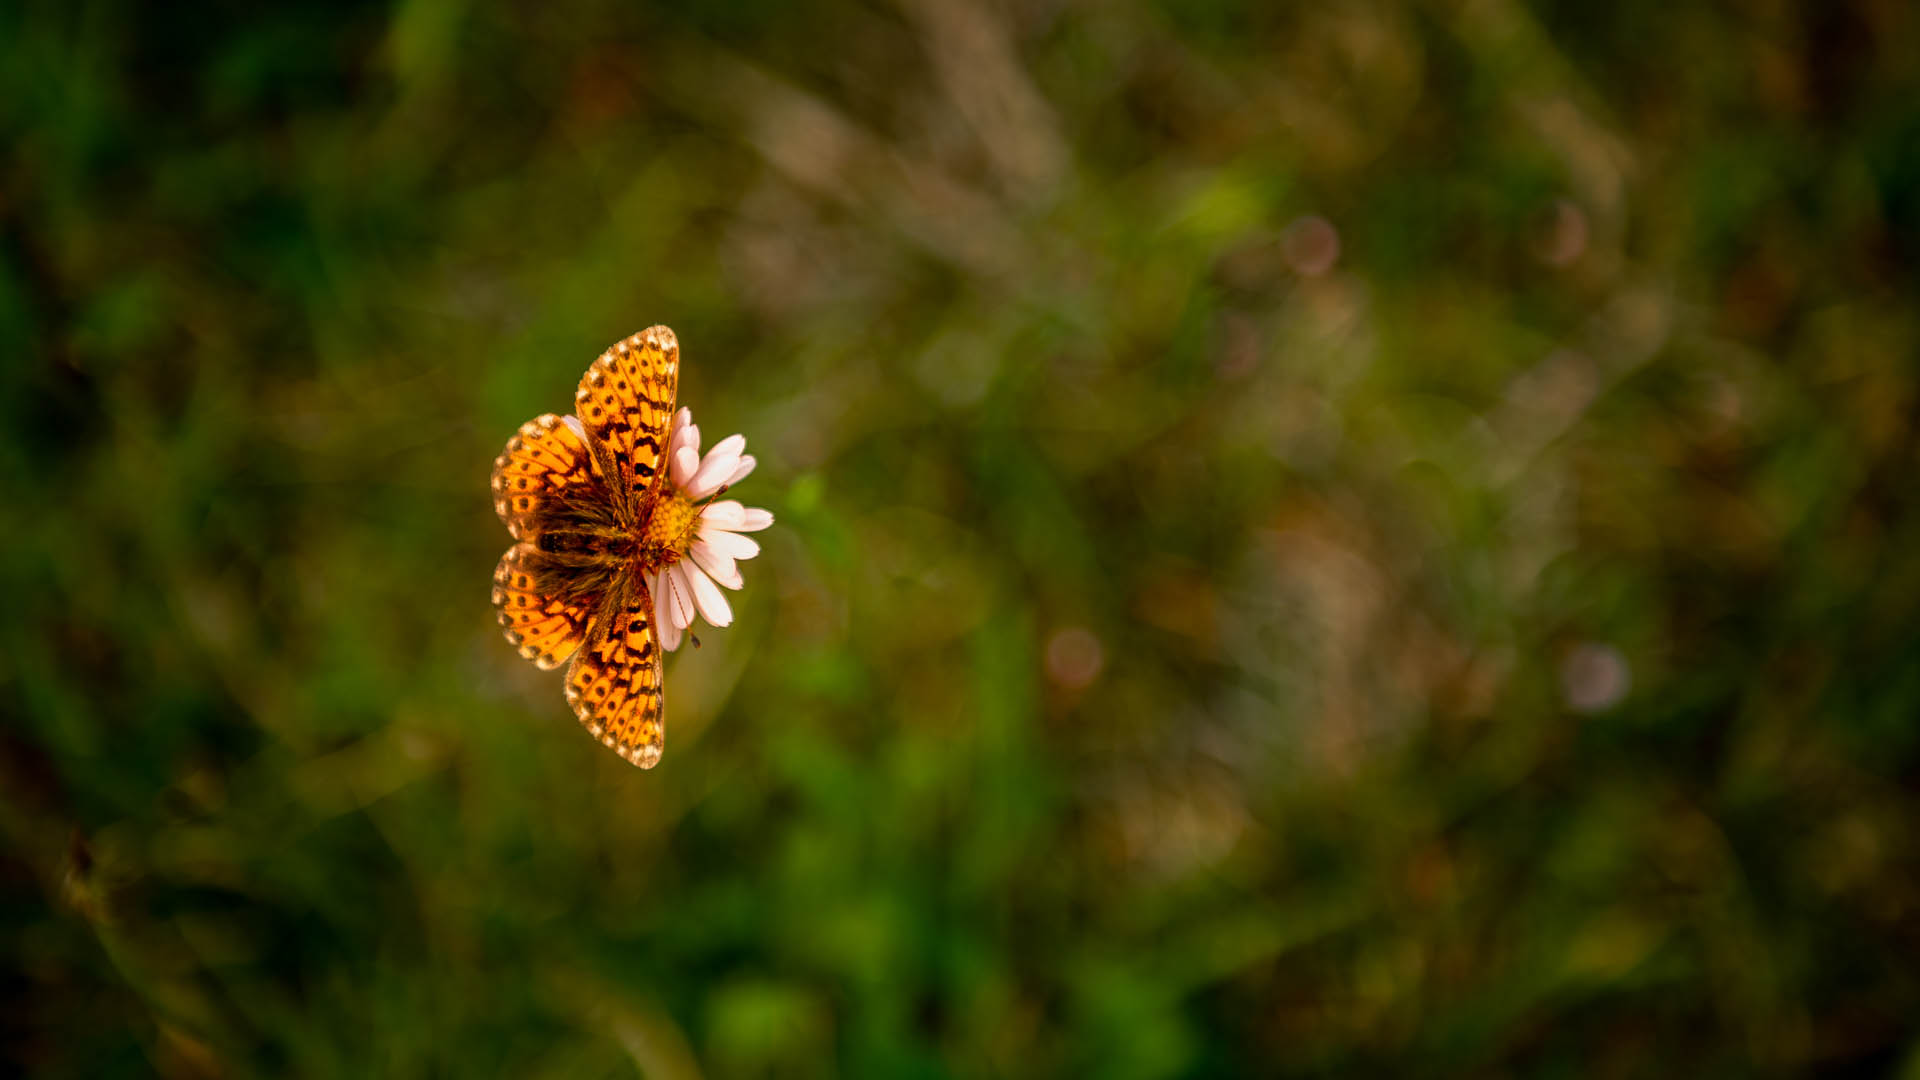
If you’re shooting a landscape photo, chances are you want the entire image to be in focus. But if you’re looking at, say, a flower, you might only want a certain point of the image to be focused, and blur out the rest of the image. Planning out these scenes is extremely important if you want images that’ll separate you from the crowd. If you know you’re shooting something up close, you may want to decrease your aperture — or the f-stop number in-camera — to blur out the background and make the foreground of your image the subject.
If you choose the wrong point to focus on, or let your camera select the focus point for you, the image might just look blurry, rather than professional. In this case, using point selection and manually choosing where you’d like the camera to focus will almost always result in a better image. And you can test this!
Try using the autofocus point selection, or expanded point selection modes, choose a relatively busy scene with objects in the foreground and background. If you half-press the shutter (or better, set up back-button focusing) multiple times, the camera will choose different subjects to put in sharp focus each time. Nothing in the world could be more frustrating than the camera choosing the wrong subject.

How does shutter speed affect image sharpness?
This is one of the most important fundamentals to nail every time. A slower shutter speed will have more opportunities to capture motion. Sometimes this can look really cool, for instance if you’re taking an image of a moving car with a shutter speed around 1/40th of a second. If you can keep the car in the same position in the frame, the background will have motion blur going from left to right, but the car will remain tack sharp.
In most cases, this blur isn’t what you want to see. It’s one of the main reasons why your images will look amateur, or don’t get as many likes on Instagram or Facebook. If you’re out in daylight using a wide lens, it’ll be easy to get a sharp image by using a shutter speed faster than 1/1000th of a second — even with shaky hands and no tripod.
Then there’s the matter of taking photos during the golden hours at dawn or dusk. These will be harder to do without bringing up your ISO, which can cause unwanted and unnecessary noise. In these cases, the best bet is to use a tripod, and the 2-second timer setting on your camera, as even just touching the shutter button can introduce shake when using a lower shutter speed!
What if I don’t have a tripod?
If you need to handhold the camera, you’ll have to follow the reciprocal rule. This is simply using a shutter speed that’s faster than the focal length to avoid motion blur. So use 1/50th of a second when using a 50mm lens, or 1/200th when using a 200mm lens.
However, this isn’t perfect. Longer lenses, like 200mm, or 600mm usually require faster than reciprocal speeds to completely remove motion blur. And then if the subject is moving, like a bird in flight, you’ll need speeds of up to 1/1250 – 1/1800 to keep them sharp.
But what if you want to smooth out some clouds or a waterfall? To do this, you’ll need to have a sturdy tripod to get a tack sharp image when using shutter speeds longer than a half-second.
Of course, there are many more unique shutter speed situations than we can cover in an article like this. If you want to learn more, go check out our Free Photography Settings Cheat Sheet, or the Tack Sharp Photography course (now 40% off!) to learn more.
Is High ISO ruining your photos?
Depends on the moment! If you’re photographing a family moment, it will be worth it to make sure you miss the moment with a blurry photograph. But don’t take the lazy way out if you’re on vacation, shooting a stunning vista that you’ll never see again.
But every camera is different, and higher-end, full-frame cameras will capture more light and show less noise than the entry-level cameras. So you’ll have to find your own breaking point — the maximum ISO you’ll allow yourself to use.
How will I know that I’ve hit the breaking point?
Do you see lots of bright red, green, yellow, and blue specks? Was your image in focus, yet the sharp edges are all a little bit soft? High ISO can be deadly to an image, because the sensor is making guesses about what’s supposed to be there, instead of capturing the light it needs to produce a stunning photograph.
So while cranking the ISO to 12,800 might make it possible to use a shutter speed fast enough to handhold the camera during blue hour, it’s not going to result in the sharp photos you desire.

What if it’s too dark to accurately focus?
This happens to everyone. Capturing photos in the dark is especially difficult since even the latest cameras tend to struggle to autofocus correctly. This could be if you’re capturing light trails, doing light painting, or even capturing some stars.
Some cameras are better at focusing in the dark than others. For example, a professional Nikon D810 will focus better and faster in the dark than an entry-level Nikon D3500. But there are always workarounds. One method is to use the Live View mode. In this mode, the camera will use contrast detection from the larger photosensor, rather than the much smaller focusing sensor in DSLRs.
The camera will often still have to hunt, and if you’re taking photos of the stars, it might never find the right spot. When this happens switch to manual focusing, and continue to use the Live View mode. Zoom in as far as possible and find either the brightest star, or a horizon point in your image that has the maximum amount of contrast. You’ll have to play around with the focusing ring until you get the subject perfectly in focus, and then don’t touch it again. This process can feel like ages, even for me, even though I’ve been doing it for years.
What other factors cause unsharp photos?
So you’ve got the shutter speed, ISO, and aperture fundamentals down. Your tripod is sturdy, you’ve used mirror lockup, a 2-second timer, but your images are still out of focus? Your focusing problems are probably due to one of these somewhat rare cases!
If the subject is backlit, using a wide aperture might make the subject less sharp depending on how well your lens controls light. Issues like fungus, haze (more common in older lenses stored in humid climates like South East Asia), or even cheap optics inside the lens may scatter the light across your subject, an issue known as flaring. Modern lenses are much better at controlling light, so this won’t be an issue for the vast majority of photographers. You can find information about colour fringing by looking up the lens on sites like dxomark.com.
Is your camera front focusing or back focusing? One of the main issues with DSLR cameras is that the cameras use two sensors: one just for focusing, and one for capturing the image. This means that the camera can snap into focus really fast, but some lenses — especially third party lenses — may be imperfectly calibrated for the camera, resulting in imperfect focus.
Can I fix how my camera autofocuses?
On most cameras, yes, you can fix your own focusing issues! And the process is simpler than you might think!
You can test this by putting three objects, like batteries at an angle, placing your camera level with the objects on a tripod about 10 feet away (further for longer focal lengths), and taking a photo of the middle object with the aperture wide open. If the object in front of behind is more in focus than the middle one, you can calibrate the autofocus micro-adjustment until it’s perfect.
If you’re using a zoom lens, you’ll have to repeat the test at different focal lengths and distances. Use this tool to find the right distance for your camera and focal length.
Why isn’t my camera focusing at infinity?
People living in smotheringly hot climates such as deserts can actually get out of focus images for a completely different reason. If you look at a lens with a focus finder on top, you’ll be able to manually focus to a specific distance, which can even go past infinity! The reason for this is because the lens elements physically change when exposed to heat, making the point of infinity focus different than in colder climates.
You’ll mostly only run into this problem if you’re taking old, vintage lenses into the Sahara desert. Many of these lenses were constructed in places like Russia, Germany, or Japan — countries where there aren’t many deserts.
The last reason your image might not be in focus is if you have a decentered lens. If the lens took a really hard drop, sometimes an element might have been displaced, causing all, or half of the image to be out of focus. This is usually only an issue for cheap, third-party lenses, which often use plastic clips rather than metal to hold in the elements. If you’re buying a lens second hand, this is the first thing to check for! Stop the aperture down to something like f/8, or lower and take an image of a textured wall. Zoom in as far as possible, and look at the left and right sides of the image to ensure the entire frame is in focus.
What to learn more in-depth tricks to get tack sharp photos?
 These articles are designed to help everyone learn more about photography. But I’ve got plenty more tips and tricks to help you take museum-quality photos in my Tack Sharp Photography Course. There’s something for people of all levels, from beginners looking for tips, to pro users continuing to develop their style. Sign up today and take 40% off the course for a limited time!