I’ve been asking this for years — why the heck do photographers have so much GAS these days? If you haven’t heard of it, GAS is Gear Acquisition Syndrome. For new photographers, this can be absolutely debilitating. I remember back when I was first starting out, I lusted so hard after all the latest and greatest gear.
Part of it, I think, is I thought a lack of gear was what held me back from being a great photographer. But then I’d get that new lens, go on a trip, and still come back with just alright photos instead of something amazing.
But knives aren’t what made Jamie Oliver a renowned chef. Arnold Schwarzenegger didn’t lift better because he had a certain brand of weights (and he certainly didn’t become a better actor because of them, too). And every single one of us has a better camera in our pockets than every photographer who came before us.
If you’ve got gas, don’t worry, you’re in really good company. Nearly everyone goes through this on their photography journey. I coach people out of it all the time. The best way to get rid of your GAS is to start taking better photographs. So here, I’ll show you some of the secrets that made the biggest changes to my photography.
Learn new ways to overcome a lack of gear
This is one of the biggest tips that I have for curing GAS. You can put an entry-level camera in a professional photographer’s hands and they’ll still be able to take professional-quality photos. There will be some limitations, of course, but with knowledge, comes the power to get past the technical challenges.
The main limitations in entry-gear are a lack of megapixels, limited ISO capabilities, and less dynamic range. All of these limitations are easily solved by setting up a tripod, taking panoramas, or utilizing HDR (high-dynamic range) photography.
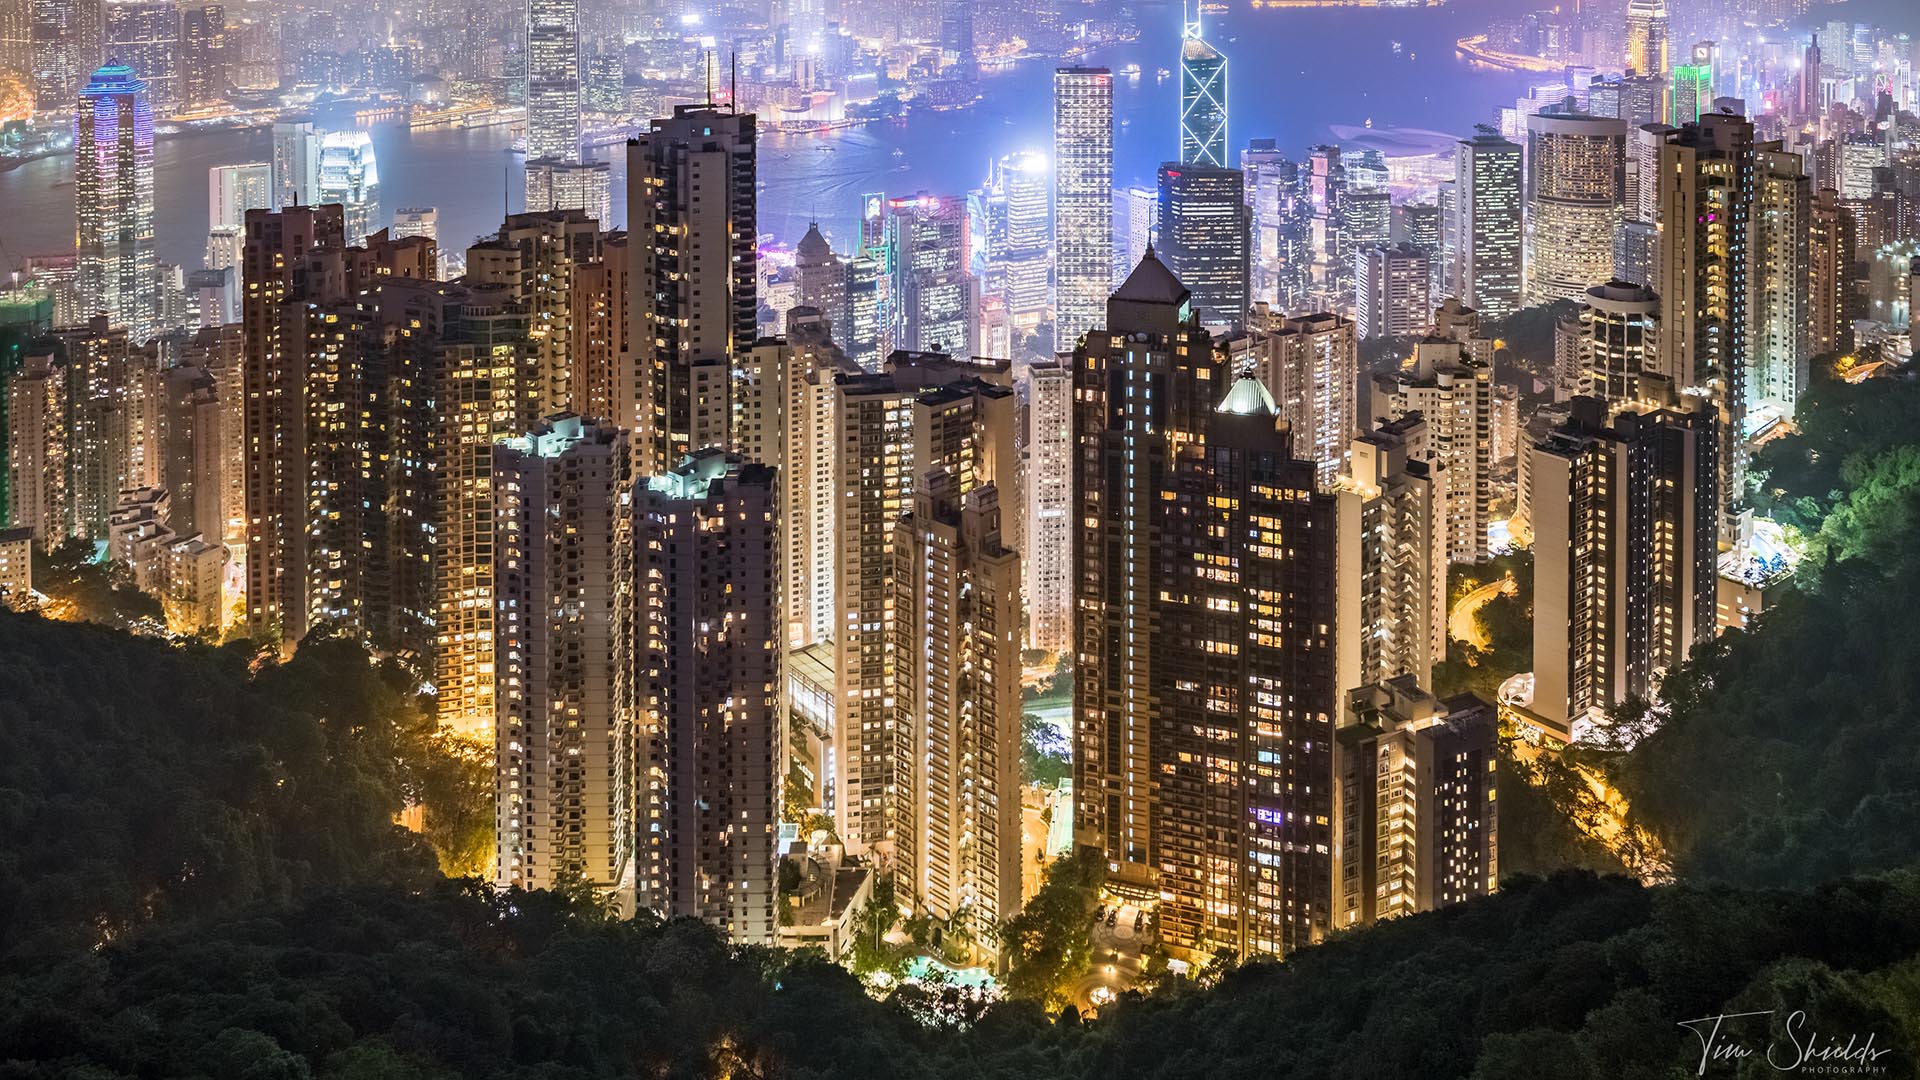
If all you have is an entry-level camera, and a 50mm f1.8 lens (the absolute best lens available under $200), you can still achieve a wide-angle look by creating a panoramic image. This is where you place the camera on top of a tripod, and take photos while panning across the scene, and combining the photographs automatically in Lightroom. By creating a wide-angle scene with a telephoto lens, you’ll be creating an image that has far more detail than even a professional camera and lens would be able to capture.
You can learn more about how to overcome these challenges with minimal gear in this article. If you try this out and come back home with some results that you’re astounded by, I’d love to see it! Let me know by sending me a DM on my Instagram.

Plan your photographs
New photographers don’t do this enough. The best photographs don’t happen on the side of the highway. They often require some in-depth planning to find the right location, at the right time of day, and sometimes even the right time of year. For example, the Mesa Arch only lights up on the underside twice a year!
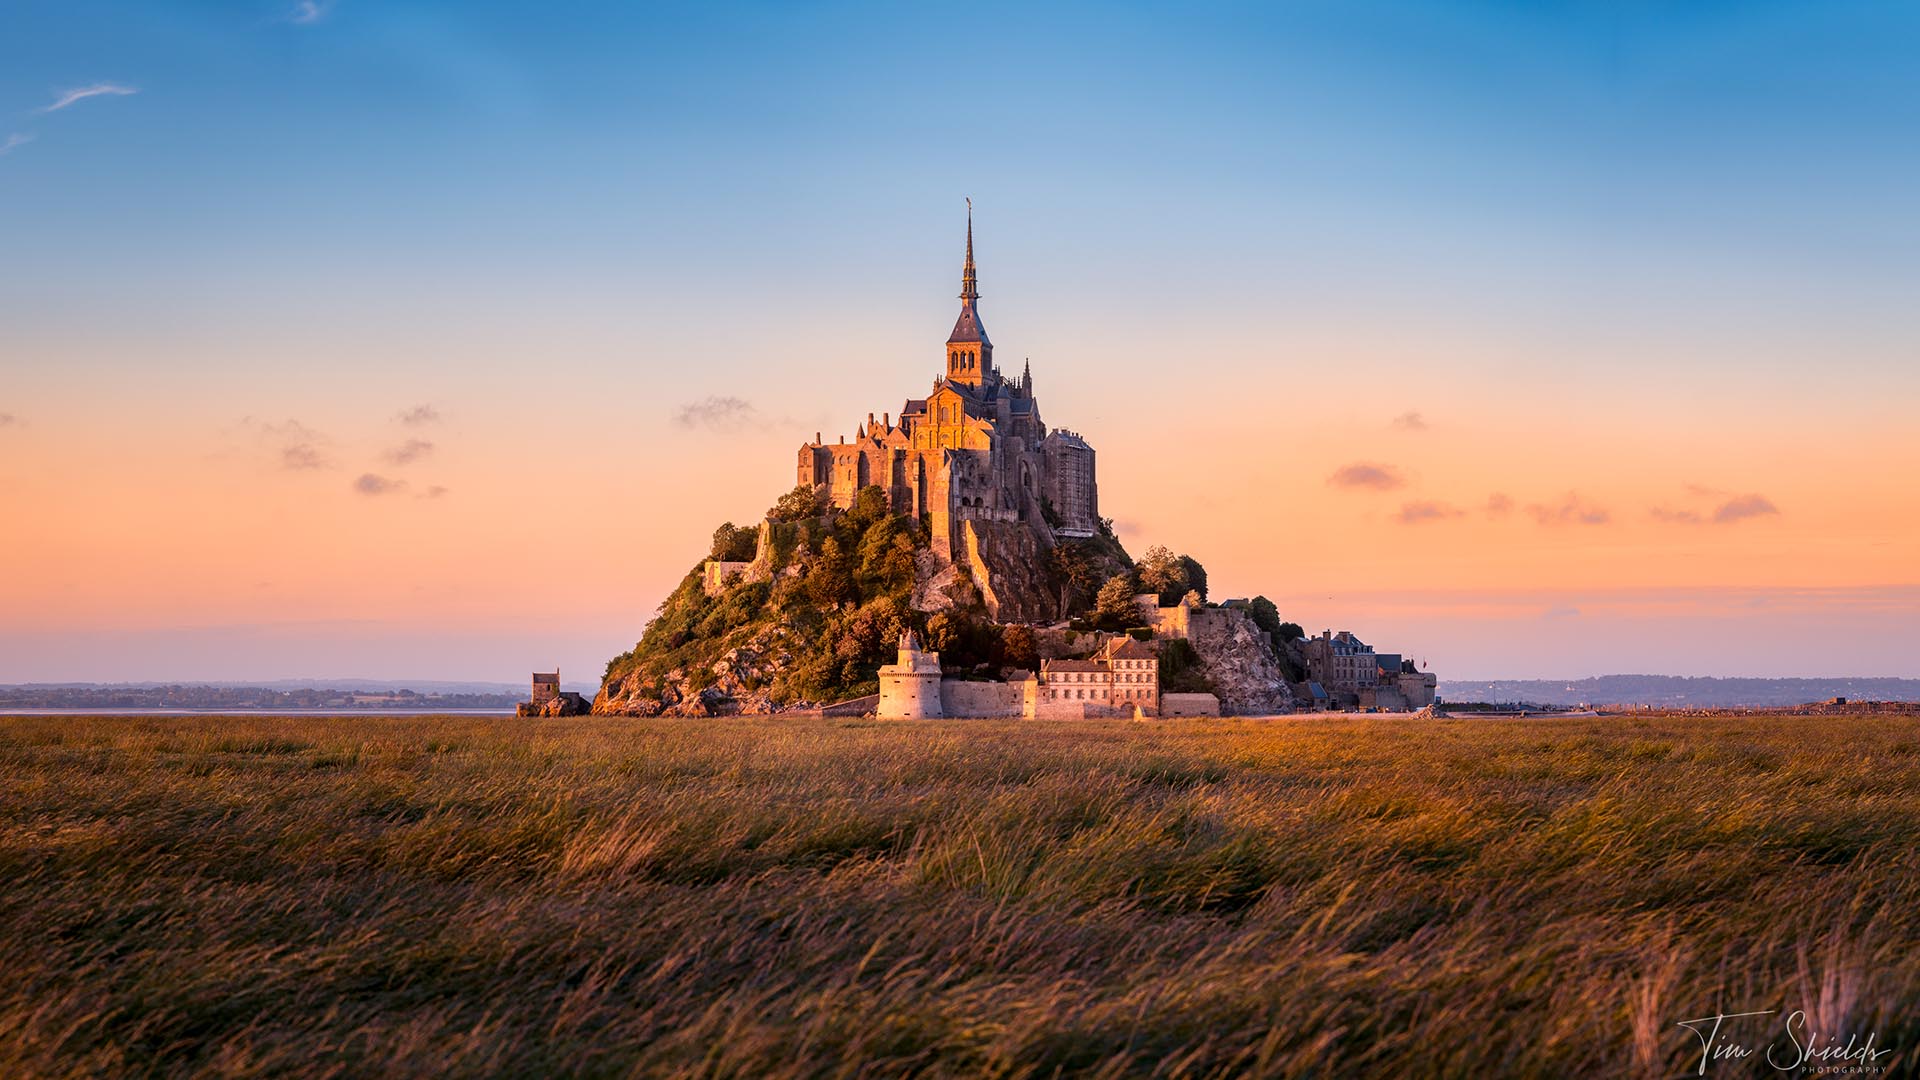
Knowing where the light will fall is an important step in our modern, over-saturated world. This is because the sunsets can create a beautiful contrast in your images that will make them stand out. Start out by searching for locations nearest to your home. This way, you can set up a calendar with local, accessible trips for when the light will hit just right throughout the year.
Finding compositions is easy with tools like Instagram. You can search by hashtag or location and then scroll through the top posts of that region until you find shots that you like. Emulating those photos, watching for the right sunlight, and knowing the conditions for a perfect sunset will make you a better photographer without ever needing to upgrade.
Use a tripod
This is pretty basic. But I know so many photographers who don’t want to bring their tripod along on a photo trip. I used to be one of those photographers as well — that is until I found out how to use it.
The tripod is the most useful tool in every single photographer’s bag. It opens up the doors to using the lowest possible shutter speed, creating long exposures, astrophotography, blurring out water, HDR, and panoramas. Generally, if a landscape photograph blew your mind, it was probably shot on a tripod. It’s science at this point.
But I get wanting to leave it home on long trips. I’ve brought them out into the backcountry so many times, and they do not get any lighter. If you’re planning to travel long distances with one on your back, spending a couple of hundred extra to get a carbon fiber tripod is well worth the price.
I know this might be giving you some extra GAS when I’m supposed to be taking it away. But this is one of the very few pieces of equipment that I suggest spending a bit of extra money on. I’ve had bad tripods in the past that simply got in the way when I wanted to do something technical. And a good tripod will long outlive the rest of your equipment — especially the camera bodies. I’ve had mine going on 10 years now. And yeah, it’s scratched up, I’ve bought a couple of extra plates, but it’s still just as functional as day 1.
Learn how to create contrast and paint with Light
Images are rarely stunning straight out of the camera. Every single famous photo you’ve seen has at least had some dodging and burning. And most have had some color changes made, either in the darkroom or in Lightroom. Learning how to edit for contrast like a pro will not just make your photos look better, but it’ll teach you what to look for when you’re out in the field.
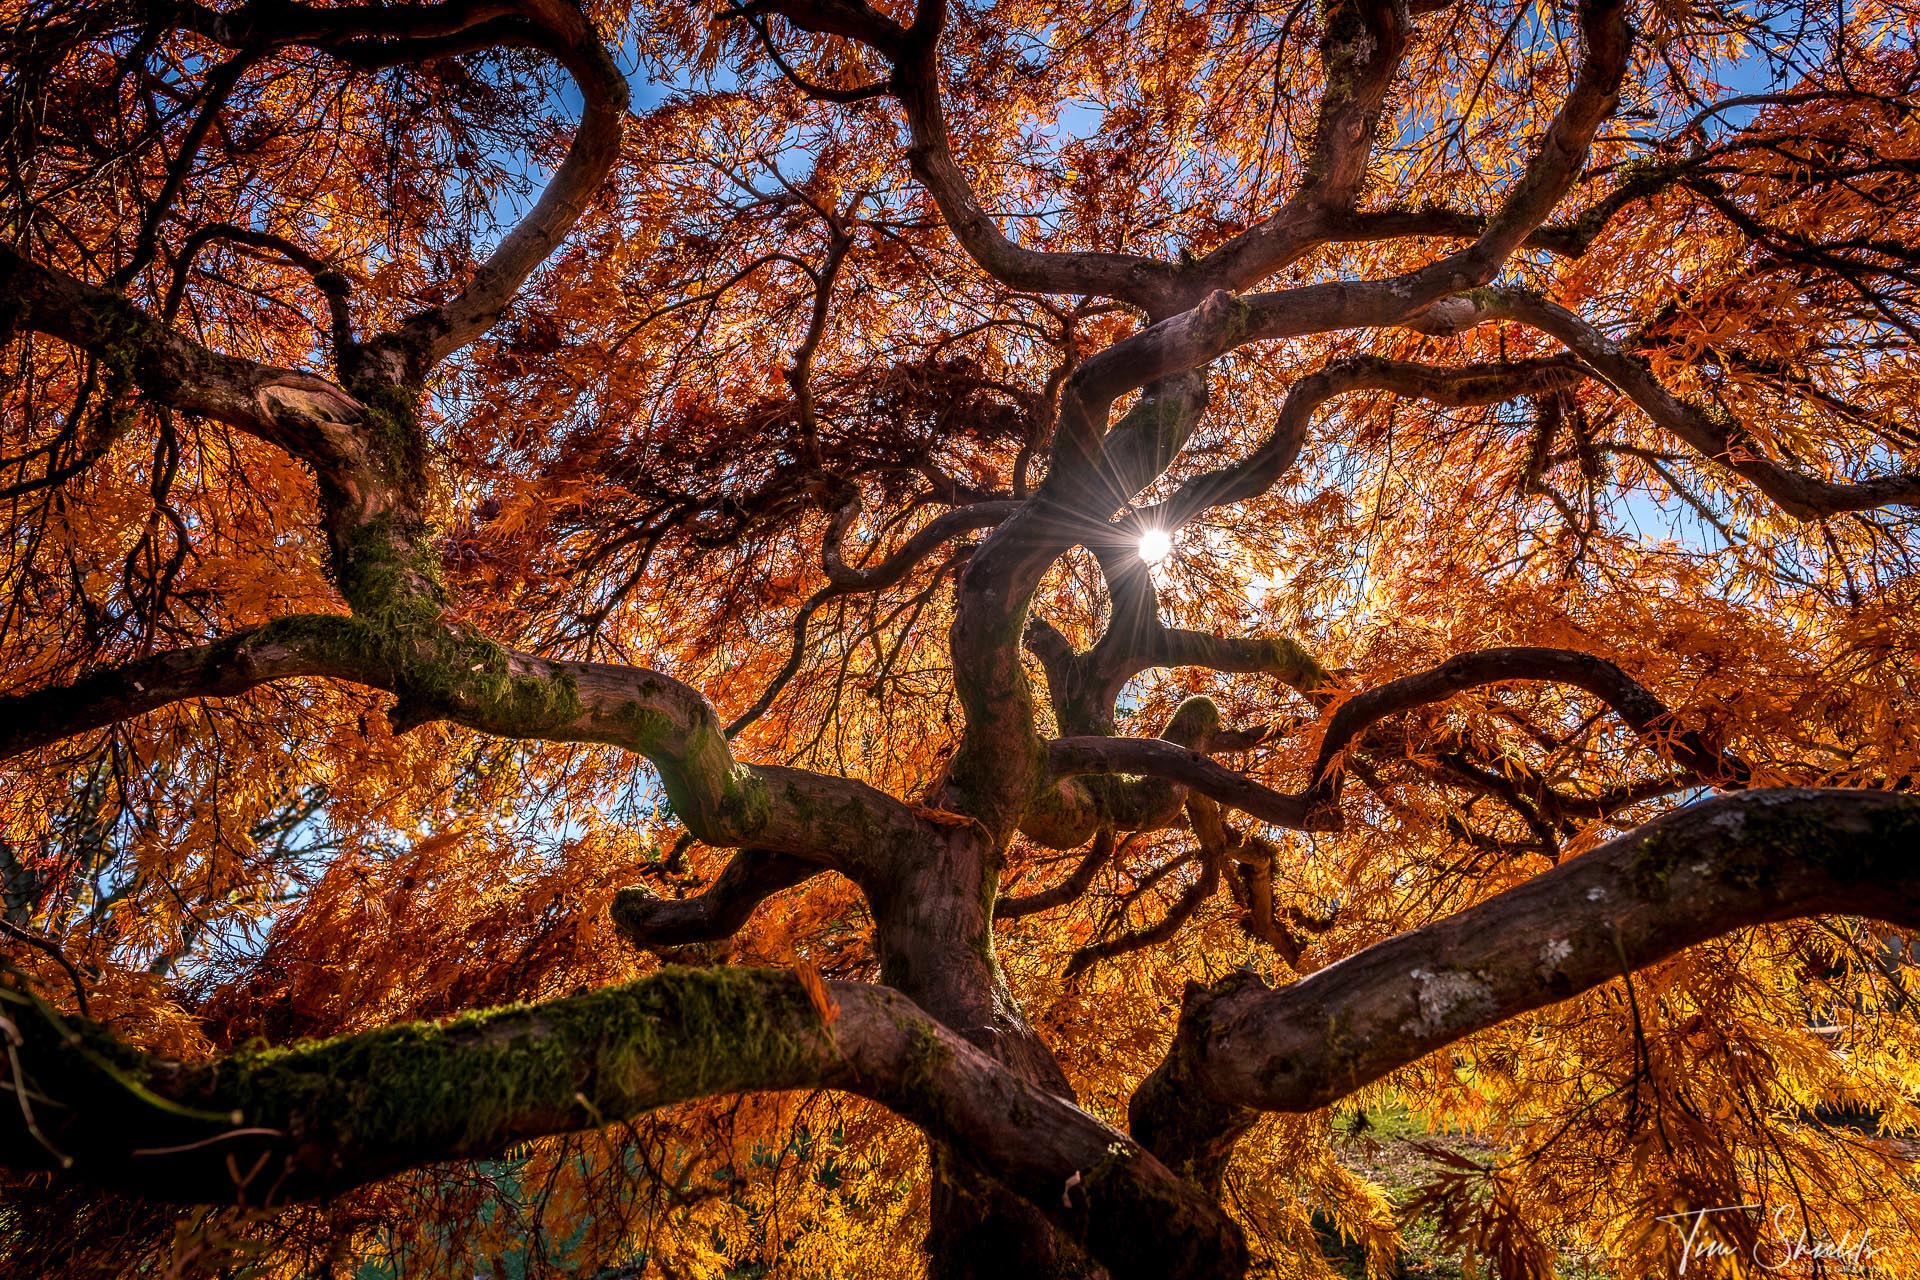
There are plenty of different types of contrast, and methods of framing your photographs that’ll make your images pop — without buying new gear. There is contrast between light and dark, colors, and blur and sharp parts of the images. Color contrast is using certain colors to emphasize details, and it’s the reason why photographers love sunsets so much. The yellow, reds, pinks, and purples in the sky all contrast with the greens, blues, and browns in a typical landscape photograph. The bright, colorful sky draws the user in, and the darker browns and greens keep their eyes on the image. Blur and Sharp contrast is similar. The blurry parts of the image bring the users eyes to the sharper sections of the print.
And of course, it’s the same with dark and light contrast, too. The viewer always wants to take in as much information as possible when they look at an image. But shadows don’t contain as much as highlights. So the dark parts draw the viewer into the brighter, detailed sections. By dodging and burning with local adjustments, you can highlight the parts of the image that you want the user to see, and darken the parts that you’d like to hide. This technique is so powerful that it can turn ordinary photographs into fine-art. It takes time, but it’s well worth it.

What if this doesn’t help me get over GAS?
Personally, I believe GAS is all about not knowing enough to get the photos that you want. Comparison between yourself and others is one of the worst things you can do unless it’s about learning from them. I know for a fact many people out there believe that the reason another photographer’s work is better is because they have better equipment. And in some very niche scenarios, that might be true. If they have a tripod, and you don’t, then yeah, getting a tripod will help you get those photos.
But for the most part, the best thing you can do to become a better photographer is to learn more. If you’re ready to take that step, I’ve created a free online web class to help you get started planning and taking incredible photos. In this class, I’ll teach you my four-step system for taking fine-art landscape photos. I’ve developed this process over my years as a professional, award-winning landscape photographer. I’ve taught it to thousands of other people who have already begun their journey into photography.
 If you’re still struggling to take these kinds of photographs, I’ve also written and published the Photography Cookbook. It’s designed just like a cookbook, with over 30 recipes for specific types of photos. A professional chef can make the exact same meal with the same ingredients, and a good recipe. And it’s exactly the same when it comes to photography. Many of these photos all follow the same basic principles. Pick this one up today and start creating!