HDR photography has gotten a bad rap since the very beginning of digital photography. On internet forums everywhere, it’s the technique used to create jarring, overly sharpened, vivid photographic nightmares. Just type Bad HDR into Google for an unnecessary refresher on what 2008 looked like.
But HDR, or High Dynamic Range, photography is coming back. If you’ve used any of the major phones over the last 4 years, they’re all using HDR automatically. When you take a photo with Instagram to make a story, it automatically applies some form of HDR processing on every photo you take. It’s used by architecture photographers, product photographers, astrophotographers, and even fine art landscape photographers.
HDR Photography is a technique that combines photographs at different exposures and combines them to capture the complete tonal range of the scene. Photographers use HDR techniques when a single exposure can’t capture all of the tones in a scene.
That’s the crux of it. Many scenes, especially at dusk and dawn have so much variation in the amount of light throughout an image that it can be impossible to capture everything. HDR solves that.
Digital sensors are not even close to perfect
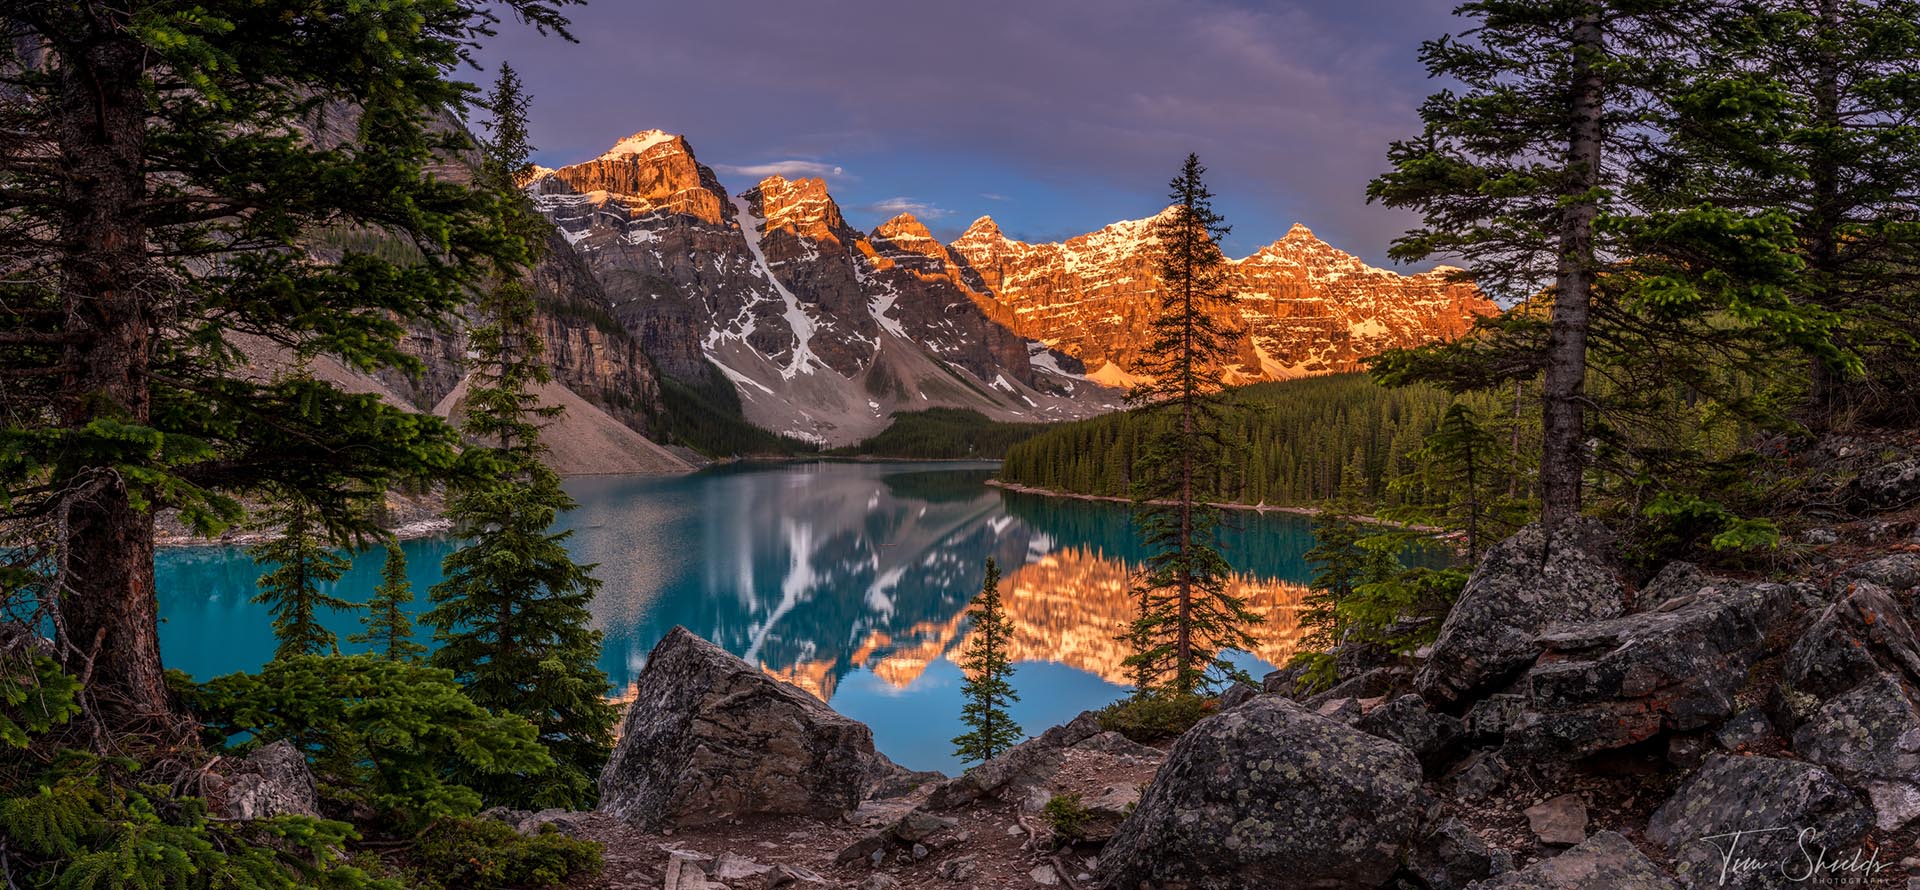
Have you ever photographed an out-of-this-world sunset? The kind flush with red and purple skies, cotton candy clouds, and a brilliant shade of yellow crossing the landscape?
Then you look at the photographs afterward, and they are okay, but the colors in the sky aren’t popping the way they do in other photos — or if they are, the rest of the image is completely black.
You did everything you knew to do. Like making sure the exposure was correct on the histogram, setting the camera up on a tripod so you could keep ISO down, and using a cable release so you don’t introduce camera shake.
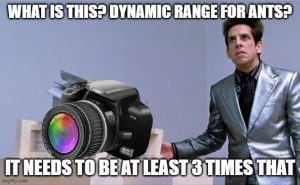
It’s not working out because of an issue called dynamic range. The human eye is capable of viewing around 21 stops of dynamic range, which the best cameras can capture approximately 16 at the lowest ISO setting.
A five-stop difference might not sound like that much, but you have to consider how much information is lost at both ends of the spectrum. Comparing the same scene with your eyes and with the final image, you’ll be able to pick up a lot more detail in person than the camera will be able to. The best way to come close to matching what our eyes can see is to use HDR photography.
An HDR image captures more colors than a single exposure ever could. Most cameras can only take 8-bit images with just 256 colors. (That’s 2^8 for the nerds in the room). But the final HDR image will essentially hold 32-bits of color information, which amounts to more than 4 billion colors.
The process works by combining multiple photos taken at different exposure values to capture the entire range of light in the scene. This works especially well at sunsets and sunrises when the dynamic range will be exaggerated.
How do I create an HDR photograph?
HDR Photography is a lot simpler than it sounds. In this section, I’ll give you a step-by-step guide for capturing multiple images to combine in Lightroom or Photoshop into a single HDR image. It is also possible to use the HDR mode on your camera, but I find the images are not as flexible as when I create them myself.
There is also other HDR software available online. For the sake of brevity, we’re going to focus solely on Adobe Lightroom Classic CC, since that is the most used software and is excellent at managing your photographic library. Also, Lightroom Classic CC makes creating an HDR image easy — no tone mapping, masking, or complicated selections are necessary.
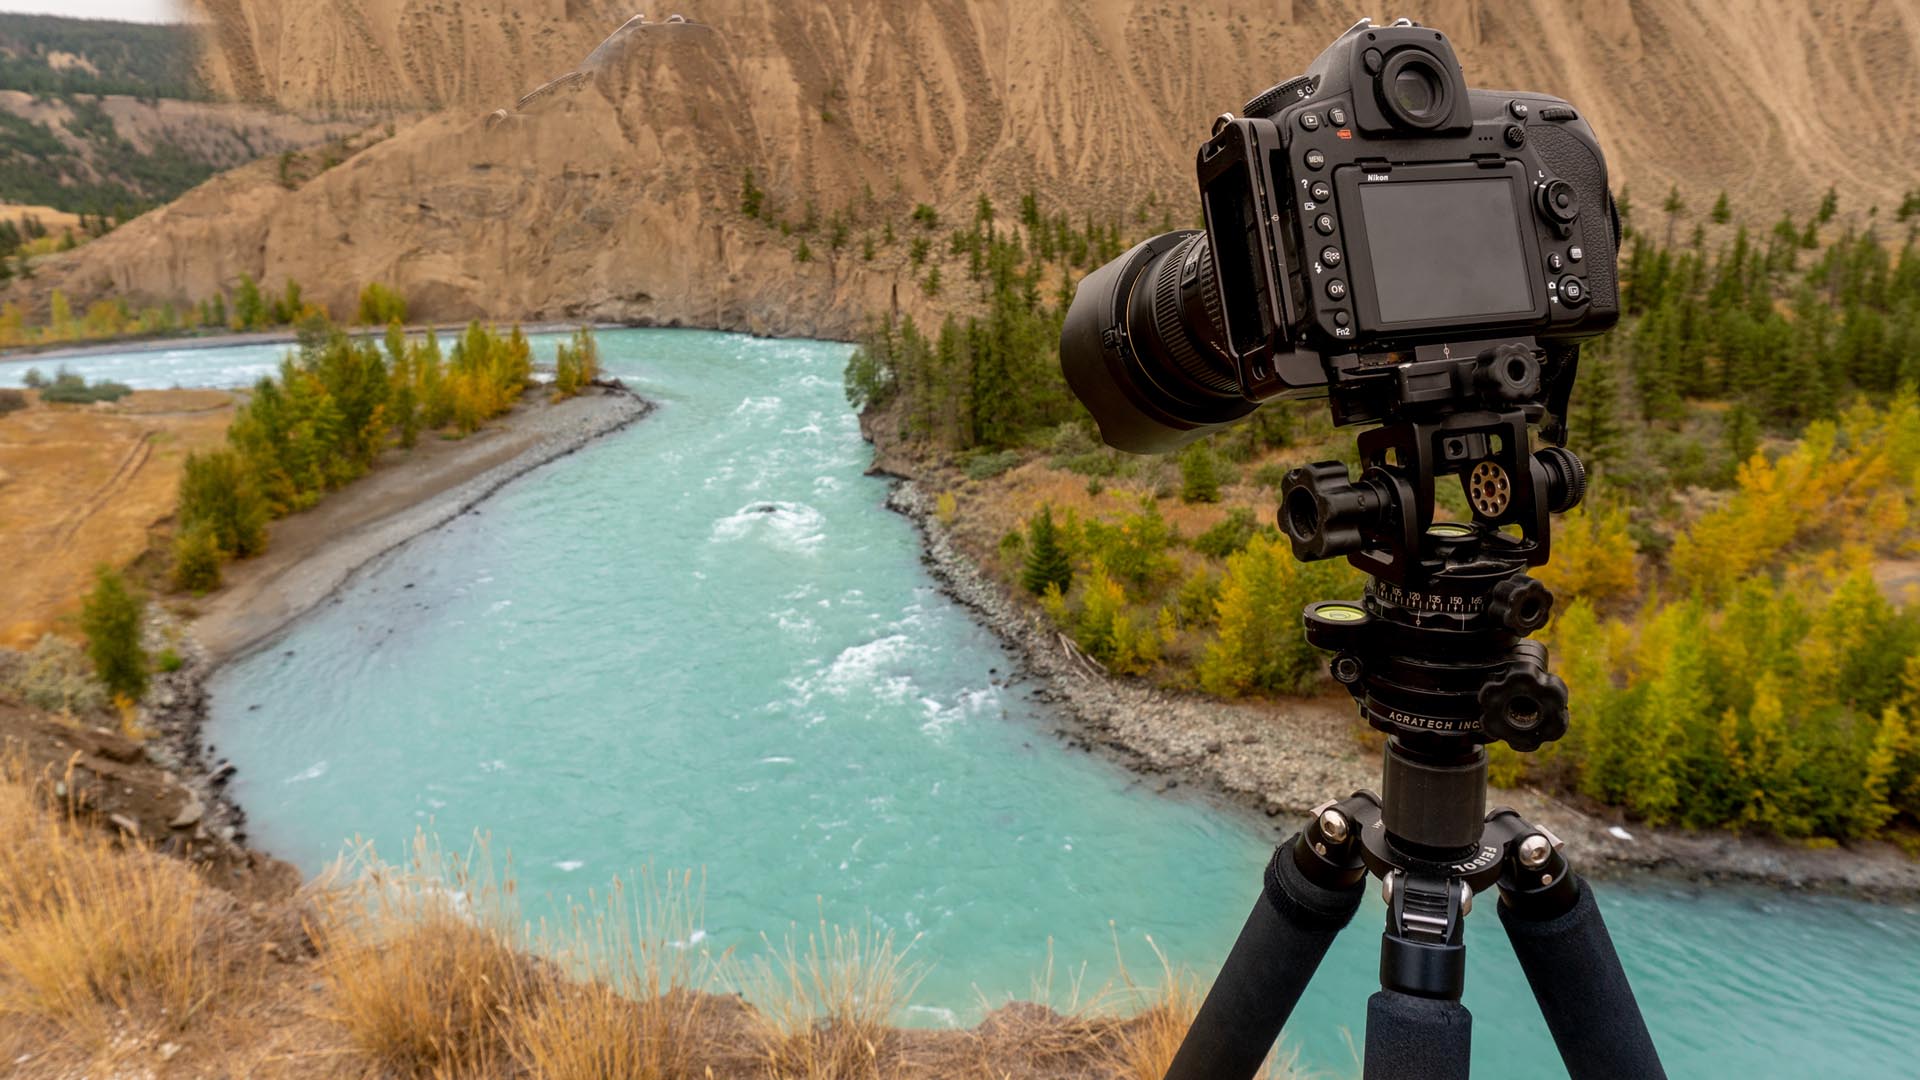
Step 1. Set your camera on a tripod
First things first. You’re gonna need a tripod if you don’t have one already. HDR images require the use of a tripod to minimize any overlap between the images. The tripod also ensures that you will be able to use the lowest ISO and a proper aperture to capture everything you need in focus. Shutter speed doesn’t matter for HDR photos unless you specifically want to create a long exposure.
Lightroom Classic will automatically attempt to align the images before creating the High Dynamic Range image, but it’s not always perfect. So if there are any issues with alignment, you will end up with ghosts on your image.
That also means that HDR is not going to be useful for photographers shooting any kind of action. Shots of your kids, pets, athletes or other living creatures that move suddenly will not make great high dynamic range subjects.

Step 2. Set up exposure bracketing
If you own a DSLR, you’ve probably set exposure bracketing before. This is a mode that changes your camera settings between exposures.
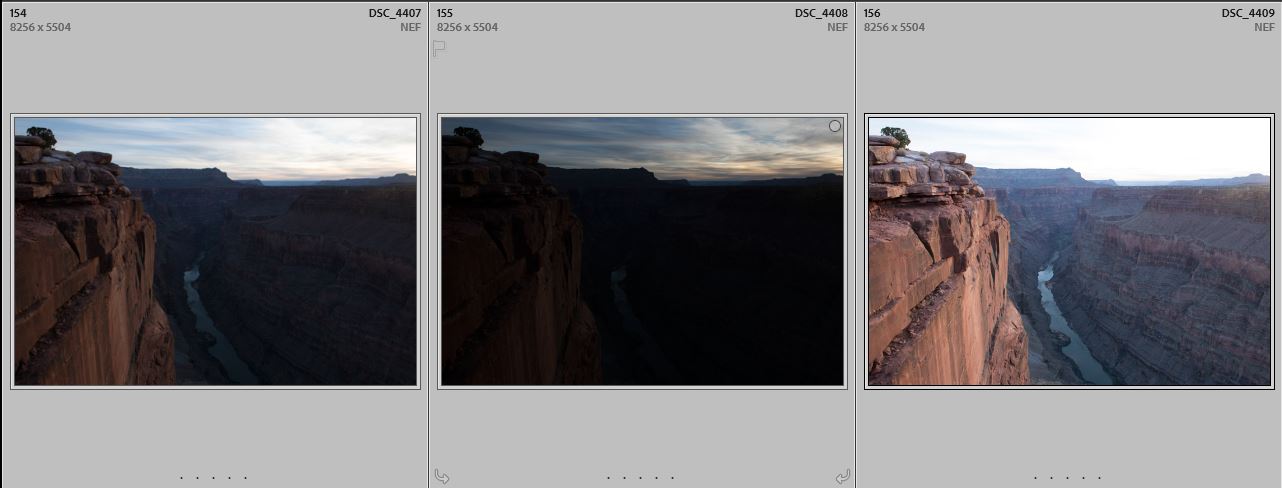
It’s that line on the back of your camera with measures going from -3 to +3. Press Q, and scroll over to it. Then you’ll use the shutter wheel to spread the bracketing. Usually, I do -2 stop, 0, +2 stop for my exposures when bracketing. But you can go further, or take more photos if you need further range in the scene.
Some photographers do like to use 6 or even more images to create higher dynamic range images. But I’ve found adding more images to the pile does not necessarily give you more detail to work with.
Every camera will have a different way to set up exposure bracketing. Most cameras will very the shutter speed, but some cameras, like the Sony A7 series cameras, can also bracket white balance for some reason. Make sure you’re using the right bracketing setting by reading your camera’s instruction manual.

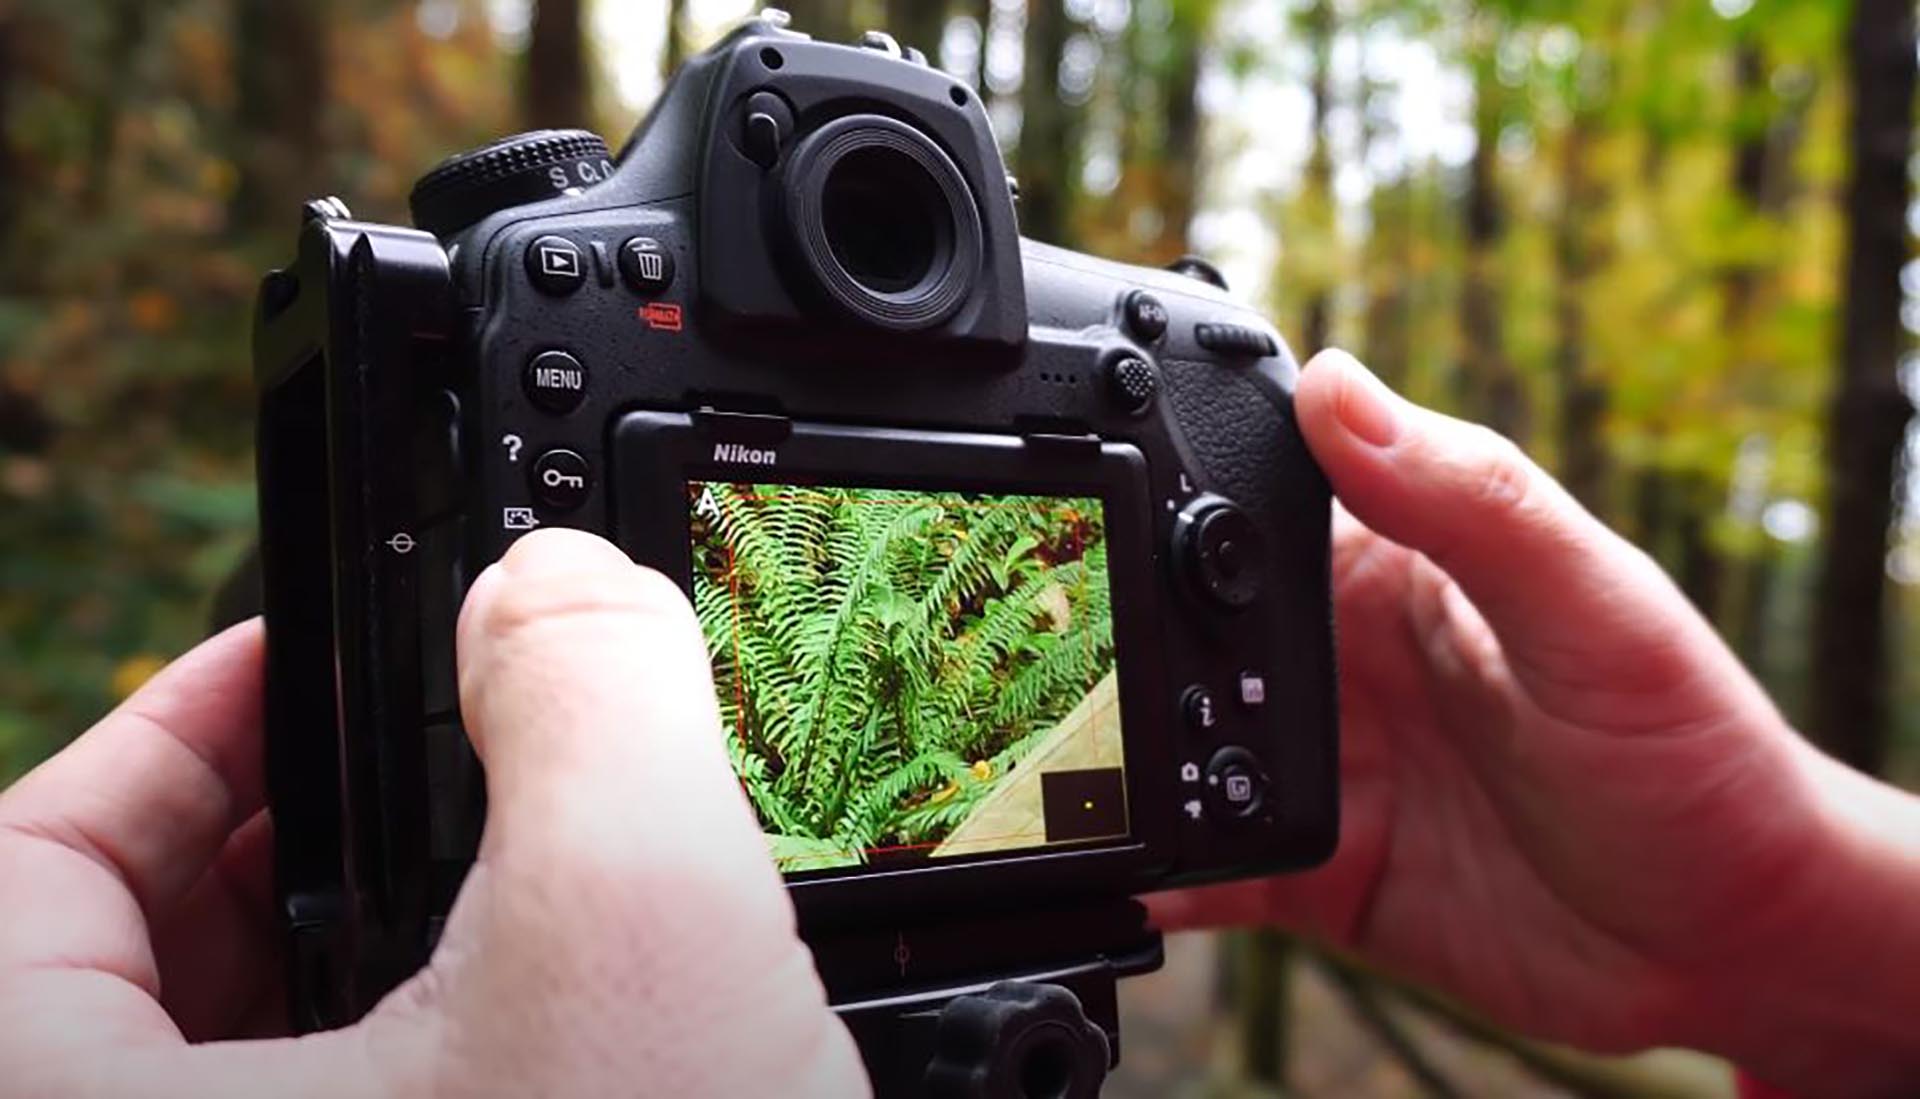
Step 3. Set your focus and the middle exposure
Exposure metering for HDR photos is the same as metering a normal photograph. You will be exposing the image for the middle exposure, and the camera will automatically vary the next two exposures by the amount you set for bracketing.
When choosing the right exposure, make sure to look at the histogram on the back of your camera, and try to get as much information in the middle of the graph as possible.
Since you’re shooting an HDR, there will always be some amount of clipping (or bunching up) on the left and right side of the histogram. Learn more about using the histogram in this article.
Then, when you press the shutter, the first image will be exposed for your middle exposure. The next two photos will vary the shutter speed by -2 stops, and +2 stops respectively.
For best results, set a 2-second timer or shutter release so that there is no camera shake. One shaky image in the set will ruin your entire image.
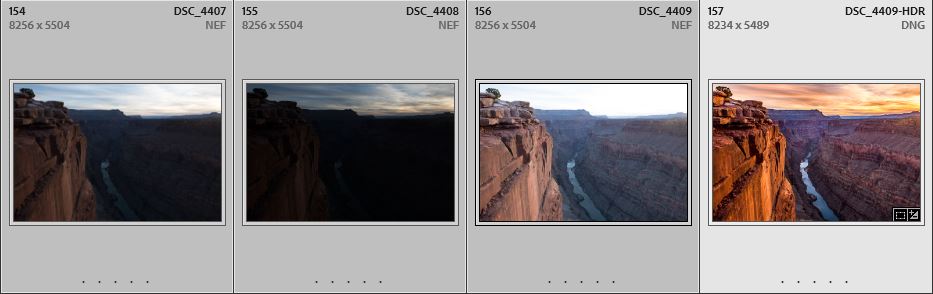
After taking the three exposures, the next step is to start processing the photos in Adobe Lightroom Classic.
What if my camera doesn’t have exposure bracketing?
No two cameras operate the same, and some might not have automatic bracketing. If your camera doesn’t, then you can manually bracket just as easily by taking one photo at the correct exposure, underexposing the second photo by 2 stops, and over-exposing the third image by 2 stops.
The shutter speed dial usually controls the exposure in 1/3rd stops, meaning 3 clicks will equal one-stop difference in exposure.
You can also take more than 3 different exposures, but it won’t always make a noticeable difference in the final outcome of the image.

How to process high dynamic range in Lightroom
This is the fun part. When you get those sharp images into Lightroom, there is a very quick workflow to combine and edit HDR photographs.
Step 1: Auto stack by capture time. This is one of the most beautiful updates Lightroom has done. Introduced in Lightroom 2020, this feature groups photos taken within a certain time frame. If the stacks don’t work out, you can change the time intervals between auto stacking to make it collect only the brackets.
If Lightroom stacks too many photos, you can unstack the group by pressing Ctrl + Shift + G, (Command + Shift + G on Mac).
Step 2: Now that all photos are correctly stacked, you can cull through the image set. The quickest way is to keep Caps Lock on, and use P (pick), U (unflag), and X (reject) to choose the best photos for further processing. If you want a more in-depth explanation on culling, take a look at my previous article on Dodging and Burning here.
Step 3: You’ve chosen your favourites, now it’s time to make the magic happen. Select all of the stacked sets of images in Library Mode, and press Alt + Shift + H on PC, or Ctrl + Shift + H on Mac.
Step 4: Wait. If you have a lot of HDR images to merge, this process can take a long time depending on your hardware. Sometime soon I’ll write an article about what to look for when upgrading a computer for editing. But for now, if you have an older, or cheaper PC, this process could take a long time. To be fair, people who have $2,000+ editing rigs sometimes STILL have to wait forever, so at least you’re in good company.

Start combining and Editing HDR Photos
Apply a preset to increase the contrast. HDR images start out pretty flat because they have a lot of details in both the highlights and shadows. Presets are one of the most powerful tools at your disposal to make sure you have a clean and cohesive editing style throughout your portfolio of work. That cohesion in editing is what makes a photo one that could only ever have been taken by you. If you haven’t built your own presets yet, I’ve made mine available to help photographers learn what kind of looks are possible.
The main reason that I make High Dynamic Range images is so that I can keep detail and saturation in the bright parts of the image. It can be tempting to bring down the highlights, brighten up the shadows and leave it at that. But that’s when you start getting flat, boring images. The best advice I can give is to always make sure there are defined black and white points in every image. So if you bring up the shadows, bring down the blacks to keep that contrast strong. Just using the contrast slider can work, but it’s not as powerful as learning how to make your own contrast.
Having a black point means that there are some shadows so strong they don’t have any information, or are pure black. This gives definition to a photograph. The natural contrast will help the viewer see the image as a real scene, rather than a doctored image.
Experimentation is key when making an HDR image
But the editing process is subjective. Every person will have a different preference, so it’s best just to have fun! Take the middle exposure image from the previous stack, and compare what happens to each image as you move the sliders. I know you’ll see a world of difference!

What if my HDR images have ghostly apparitions?
There can be a few issues with HDR imagery. The first and most common problem is called Ghosting. This is when objects in frame move between frames. When they’re combined in the final image, Lightroom makes this foreign piece look soft and blob-like. But don’t worry! There’s an easy fix.

Go back to the stack, and re-merge the photos. Make sure Auto-Align and Auto-Settings are turned on. And then turn the DeGhosting amount to low or medium, and re-merge the photos. This should fix the majority of ghosting issues. Lightroom will sometimes overdo it on the high setting. And honestly, we should save some of these ghost exorcisms for the professionals.
Is there a weird colour taking over the entire image? This could be because of two things. If it’s magenta or green, it could be because of Lightroom calibration. Scroll down to the bottom panel in Editing mode, and hit the lightswitch beside Calibration to turn it off.
If that doesn’t get rid of the strange cast, there’s one more spot that should do it. If you’re using the latest Lightroom (version 10), the panel will be called Colour Grading. In older versions will call it Split Toning. Turn this panel off and on using the light switch and it should solve your problem. The reason this happens is because the HDR process makes a flat image, which doesn’t have as much of a defined shadow or highlight. So if there is a significant, colour-specific change to the shadows or highlights done in the calibration or colour grading, it might accidentally affect the entire image. Usually these changes are made by a preset, so it may be best to change the settings if you’re seeing this issue often.
Ready to learn more?
 These articles are meant to help everyone learn the basics of photography. But there are so many more techniques to learn to become a master. My Photography Cookbook is the perfect place to start for anyone who wants a simple guide for every situation. Like any cook can follow the recipe of a world-class chef, the same is true for photography. As a bonus, there are also hours of succinct, digestible videos to help you improve.