I took almost 30 years to go from someone who ‘was good at taking photos’ to becoming a professional landscape photographer.
For most of that time, I was taking photographs on autopilot. I traveled to some incredible locations while on vacation, and was trying to come home with the kinds of photographs that would make my friends at the office say “wow, how did you take that photo?”
But the photographs didn’t work out. There was always something missing, and I couldn’t figure out what was the difference between my snapshots and other professionals’ fine-art photographs.
Over the last 5 years, I’ve begun to formulate what exactly it was that helped me start turning heads with my photography. Here are my top 5 landscape photography tips:
Looking back, there were 5 important lessons that helped me become a professional landscape photographer. The most important was learning composition, using the right camera settings, planning the images, highlighting the subject, and learning from an expert.
These were the changes that I made to my photography that made the biggest improvements when learning how to take better landscape photographs
I remember planning big trips, thinking I was going to come home with stunning landscape photos that would make everyone at the office jealous of my photographic skill, and the places I had been.
What I came home with were photographs that were overprocessed, forgettable, and uninspiring. I made a pact right then and there that I had to do something different.
I had to learn what made the landscape pictures by professional photographers like Peter Lik better than my images — even if we were going to the same locations and had the same photography gear.
Here’s what I learned about landscape photography after pouring myself into a years-long research project based around the question of what the professional landscape photographers were doing, and what I was missing with my photography.
Ultimately, after mastering these skills, I was able to turn my photography around.
After all of that hard work, I earned the distinction of Landscape Photographer of the Year from Master Photographer’s International, and continue to sell prints at exclusive photography galleries like VastPhotos.

1. Use and abuse landscape photography composition rules
The composition rules are based on patterns found in art that had survived thousands of years of human history. The artworks that survived are the ones people cherished the most — the images and paintings that people believed were good enough to be worth preserving, and hanging in galleries.
What we have learned from history comes down to these four simple patterns:
Symmetry, balance, framing, leading lines, and the rule of thirds.
All of my photographs adhere to one or more of these rules of composition. They aren’t perfect ‘rules,’ you don’t have to follow them exactly — just thinking about them will help you reframe your image when you’re in the field taking the best photographs of your life.
Often when I’m out taking photos, I will walk around the scene using my cellphone to frame different compositions.
That way, I can use the rule of thirds grid, and try out different compositions before settling on the final image.
I often find additional locations to shoot while I’m waiting for the sun to get to the perfect angle in the sky.
If you’re new to composition, here’s a quick overview of the most popular composition rules for creating stunning landscape photographs.

Composition rule 1: the rule of thirds
Once you understand the rule of thirds, you’ll start seeing it everywhere from beautiful landscape photos in galleries to National Geographic, to even everyday advertisements and billboards.
The rule of thirds is so common because it works by giving a logical flow to photographs.
The way the rule works is by dividing the frame up into 9 squares using four intersecting lines. Use the lines as portrait or landscape photography guides. For landscape photos, most photographers will place the horizon line on the top or bottom third of their frame.

Think about where you place your horizon
If you want to accentuate the foreground of your image, place the horizon line in the top third. But if you’re in a place with flat prairies and a dramatic sky, you will want to accentuate the sky by putting the horizon line in the bottom third of the image.
The next way to use the rule of thirds is to put a point of interest on the intersecting lines. If the subject doesn’t have symmetry (which we’ll get into below), then put the main feature of the image onto one of the points on the left or right part of the image.
Most cameras come with a rule of thirds overlay built into their system. You can see this by enabling the Live View mode on the camera, or in the viewfinder with most mirrorless cameras.

Composition rule 2: balance and symmetry
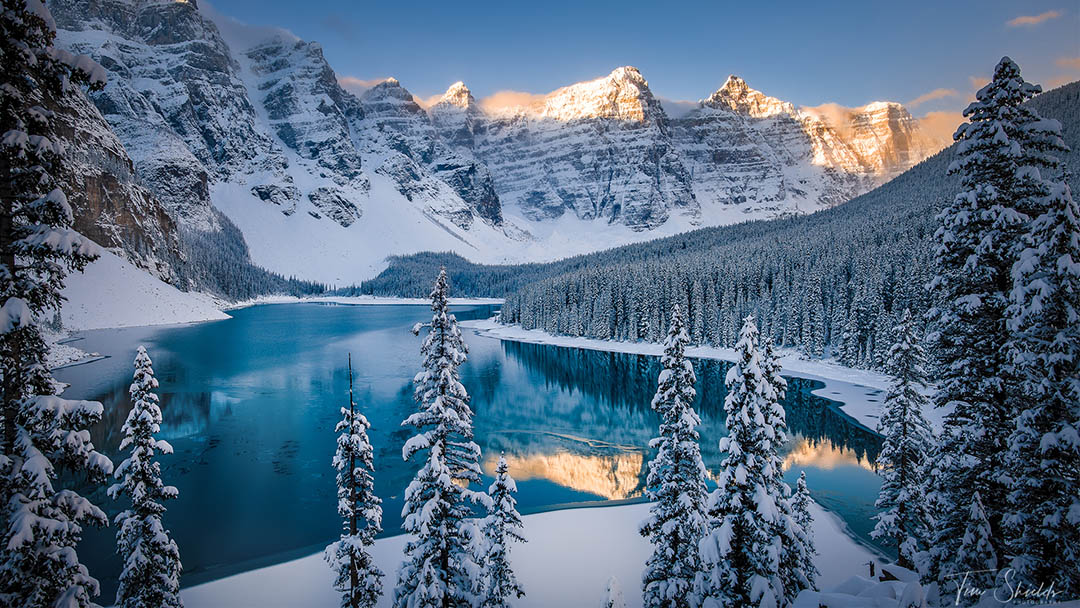
The most popular landscape shots often use balance and symmetry. This is by far my favorite style of composition.
An image uses balance and symmetry when the subject of the image is directly in the middle and there is equal weight on both sides of the image. The image of Spirit Island above is the perfect example.
The mountains on the side are leading lines that bring the viewer’s eye directly into the middle of the image, where Spirit Island is the hero. The island is small and surrounded by water on all sides with a perfect reflection in the foreground.
Shooting landscapes like this is every professional photographer’s dream.
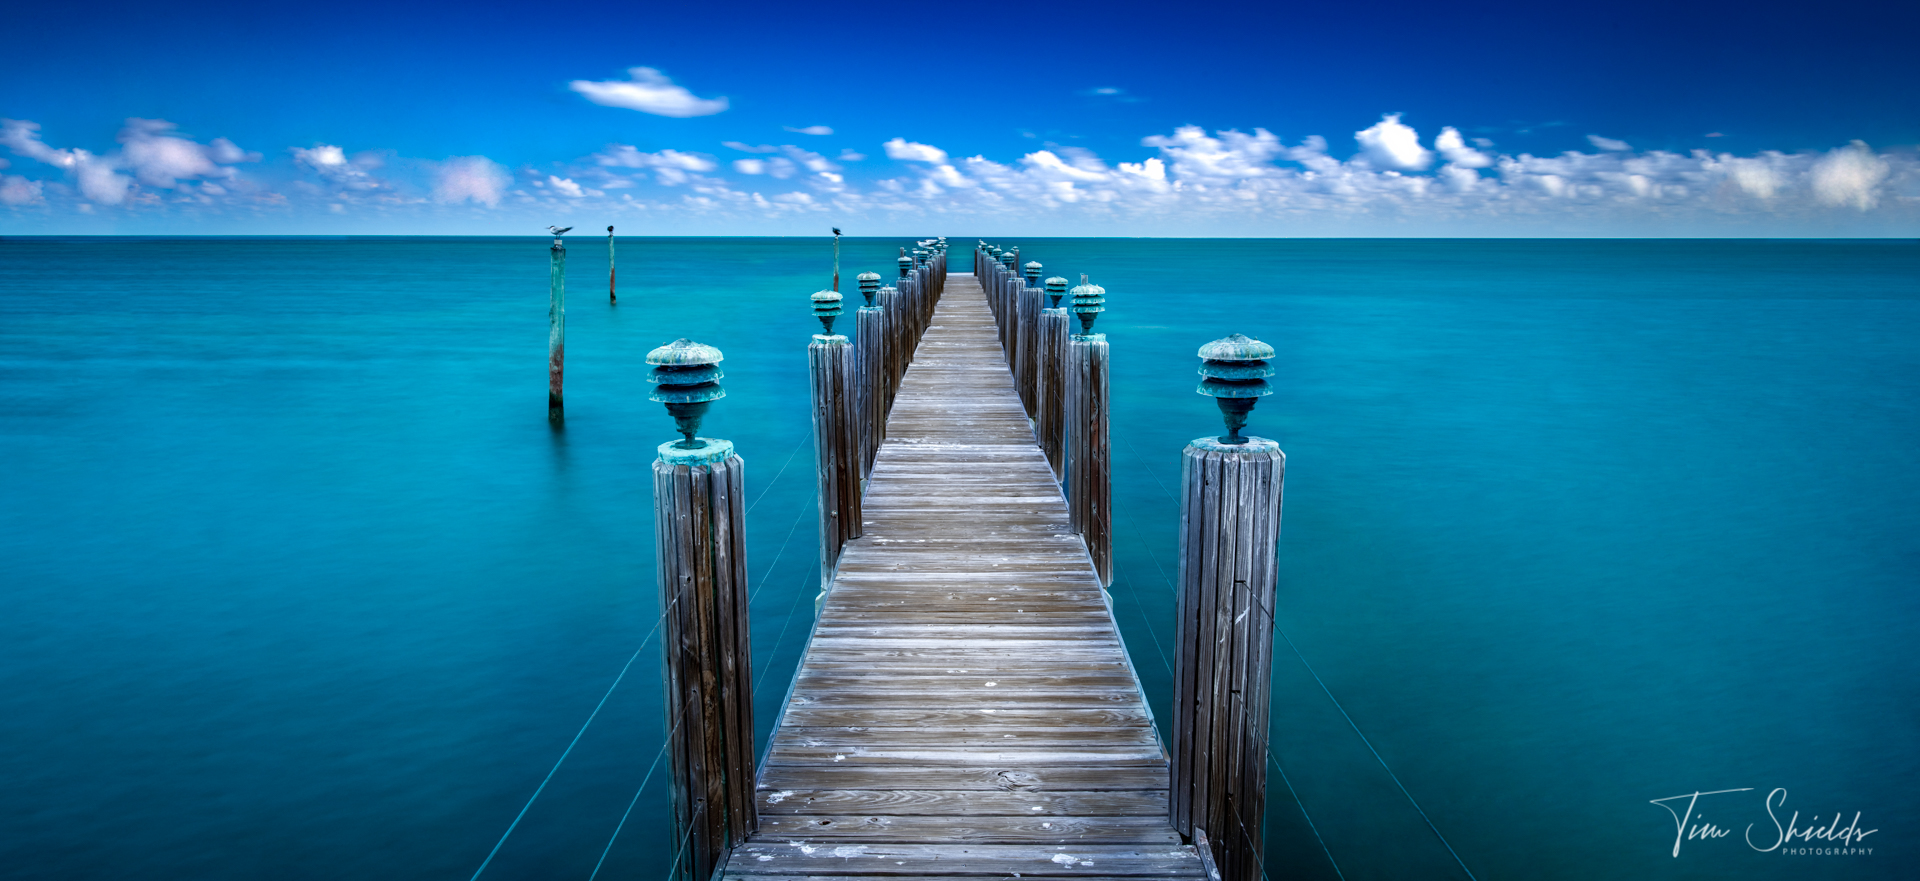
Composition rule 3: framing and leading lines
The last landscape photography composition rule that you need to know is how to use framing and leading lines.
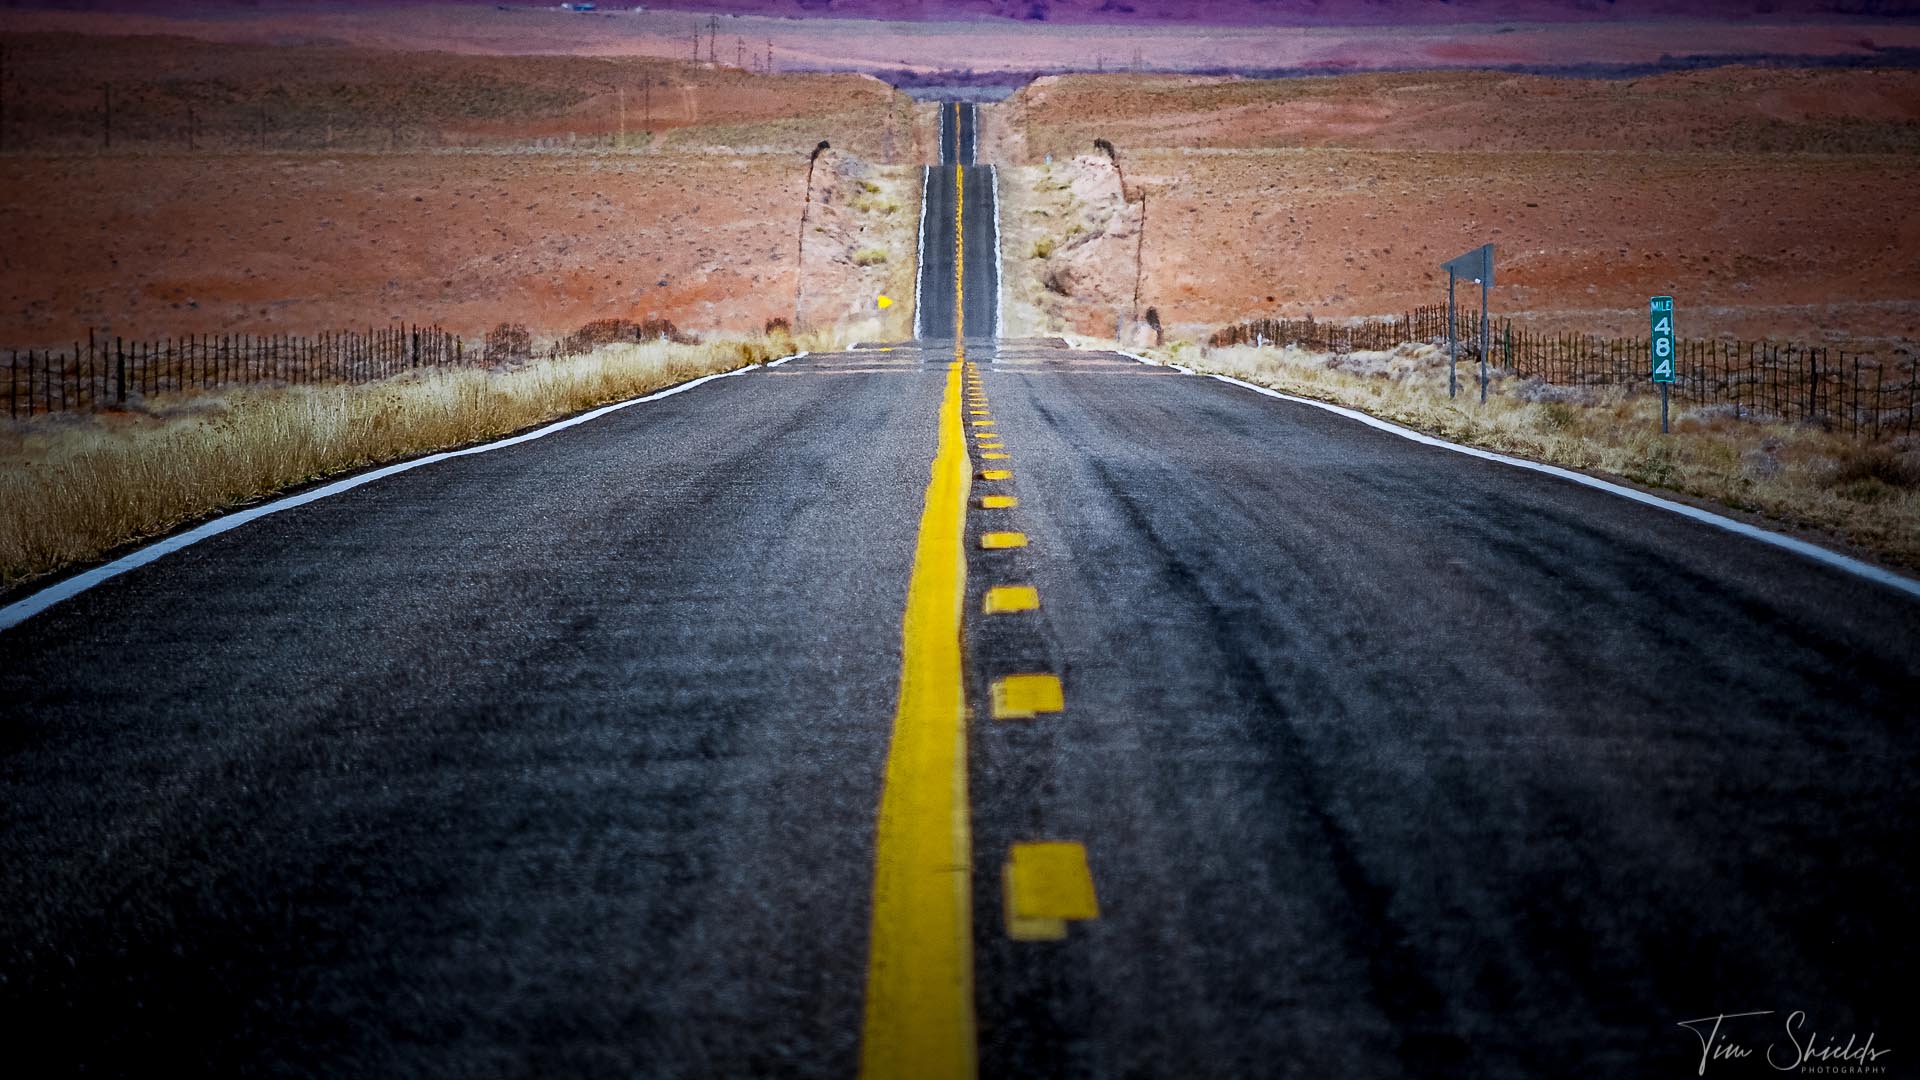
A leading line is just a line that moves the viewer’s attention from one part of the image to another. In landscape photography, these can be the curves of a desert sand dune, the edges of rolling hills, the lines on a road, the rails on a dock, or the peaks of mountains.
Leading lines are usually the most impactful when they lead into the frame from the outside. So if they start around the edges (like the sides of the road in the image above) and lead into the center of the frame, where you find the monuments in the valley.
Framing is a similar concept. Like in the spirit Island image in the last section, the mountains frame the lake. They give it a structure that leads the eyes into the center of the frame. These can be trees, mountains, or anything that is darker than the subject of the image.
The key when using framing, is to find something that doesn’t hold the viewer’s attention so that it can direct their eyes into the subject.

2. Use the right camera settings for your situation
The biggest mistake that ruined my photos was not using the correct camera settings for the scenes I was photographing. There are three main settings that need to be considered when taking photographs: shutter speed, aperture, and ISO. Collectively, they’re known as the exposure triangle, because they all add up to the exposure.
For example, increasing your shutter speed and reducing the exposure by one stop will mean having to compensate with a one-stop larger aperture or 1-stop brighter ISO setting.
But every one of the settings will make an impact on your photographs. For example, you will want to use a fast shutter speed to reduce camera shake when capturing a landscape photograph handheld. But that fast shutter speed will mean you may not be able to use a small aperture to capture everything in focus — at least not without needing to adding noise to your image with a high ISO.
Alternatively, if you’re photographing wildlife, such as birds in flight or charging grizzly bears, then you will need a fast shutter speed. Having a small depth of field often looks great in wildlife images because it helps separate the subject (the bear) from its distracting background.

Do professionals use automatic camera modes?
And if you’re in fully automatic modes, you will rarely (if ever) find that it is using the correct settings for your scene. The camera does not know the difference between taking a portrait or a sweeping landscape. It will choose all the settings that add up to the correct exposure — but not the correct settings for your situation.
But many professional photographers, myself included, use aperture priority mode. That way I set the aperture and ISO that I need for the situation, and let the camera choose the ideal shutter speed.
As a professional, letting the camera choose leaves extra room to think about more important things, like composition and finding the best light.
Camera settings are one of the biggest hurdles that new landscape photographers face. In fact, it is the single biggest reason why many photographers go back to using a point-and-shoot camera like their cellphone.
If you’re new to photography, I wrote an entire article on getting started using manual settings. This guide is everything you need to know to start using manual mode so that you never have to rely on your camera again. But even the pros like me make mistakes. That’s why I also came up with the FIREBASE settings checklist. If it works for astronauts and pilots, it’ll work for something simple like the settings you use on your camera.
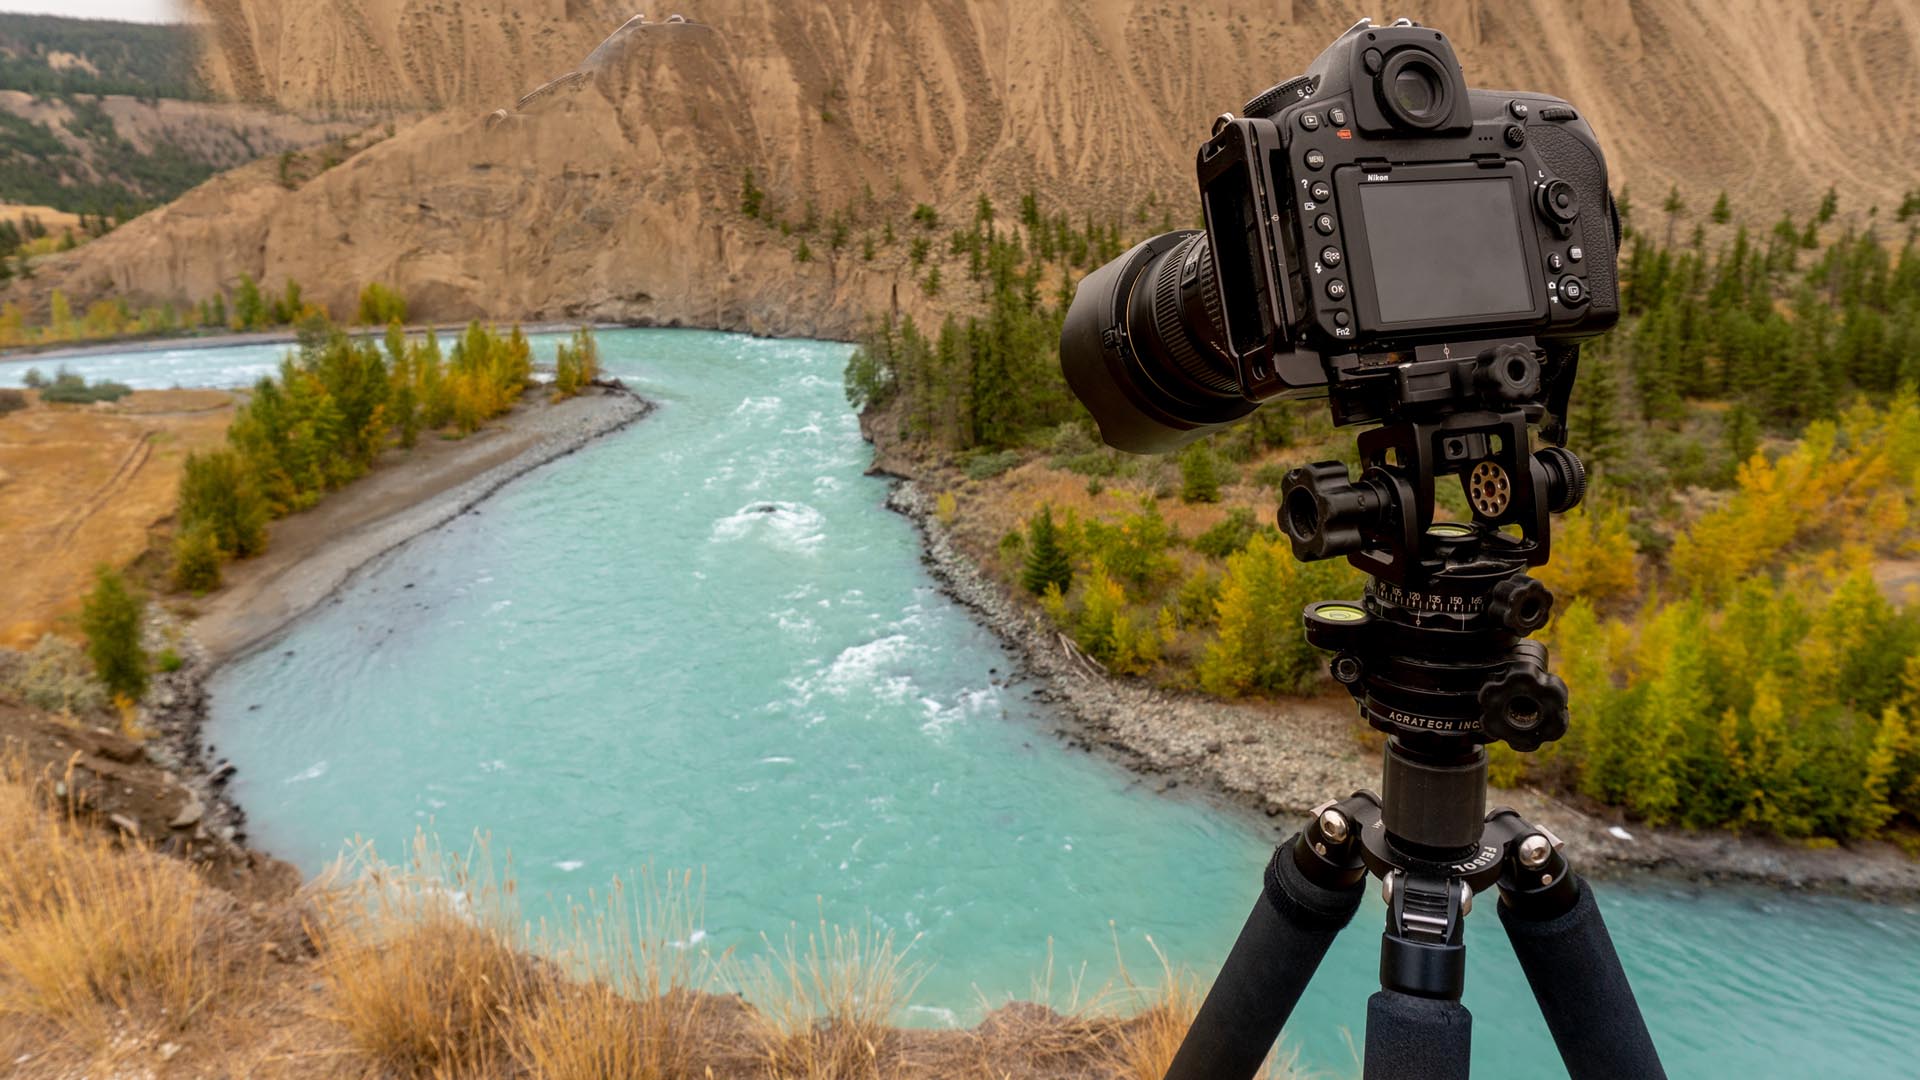
Use your tripod for landscape photography
The single easiest way to improve your landscape photography is to use a tripod. The best landscape photo opportunities happen in subdued light.
The ideal camera settings require a small aperture (high f/stop) to get the maximum depth of field, and low ISO settings to reduce the noise. On a normal sunset, if I’m shooting at f/16 and ISO 100, my shutter speed will range between 1/30th of a second and 1/4th of a second.
With today’s high-resolution mirrorless and DSLR camera sensors, 1/30th of a second is not nearly fast enough to capture a tack sharp image handheld.
The simple rule for shooting a sharp image handheld is to use a shutter speed that is double your focal length. That means if you’re using an 85mm lens, you will need a shutter speed that is at least 1/200th of a second (since there is no 1/170th option). If your shutter speed is slower than that, you will have to use a tripod to create sharp images.
Tripods also allow us to use the secret weapon for creating great landscape photos: the neutral density filter.
Also known as ND filters, these glass plates or screw-on filters are like sunglasses for your camera lens that allow photographers to get a slower shutter speed than normal.
Put an ND filter on your camera (when it is on a sturdy tripod) to blur the motion of water or clouds for dramatic nature photography. I use this set of Lee Neutral Density filters, which are made of glass, and don’t leave bad color casts on my photographs.
Many landscape photographers also use a polarizing filter to remove glare from the surface of water or to darken the sky.
Learn more about how to choose the right tripod for you in this article. Or, learn about my absolute favorite tripod of all time here.

3. Forget gear — focus on planning your landscape photos
Most of the discussions about photography on the Internet eventually boil down to gear. It’s easy to fall into the trap of thinking buying new equipment will make your photos better.
All you need is a useable tripod (like this one that I personally use on B&H), a DSLR camera, a good camera bag, and a cheap wide-angle lens. Everything else is just gear.
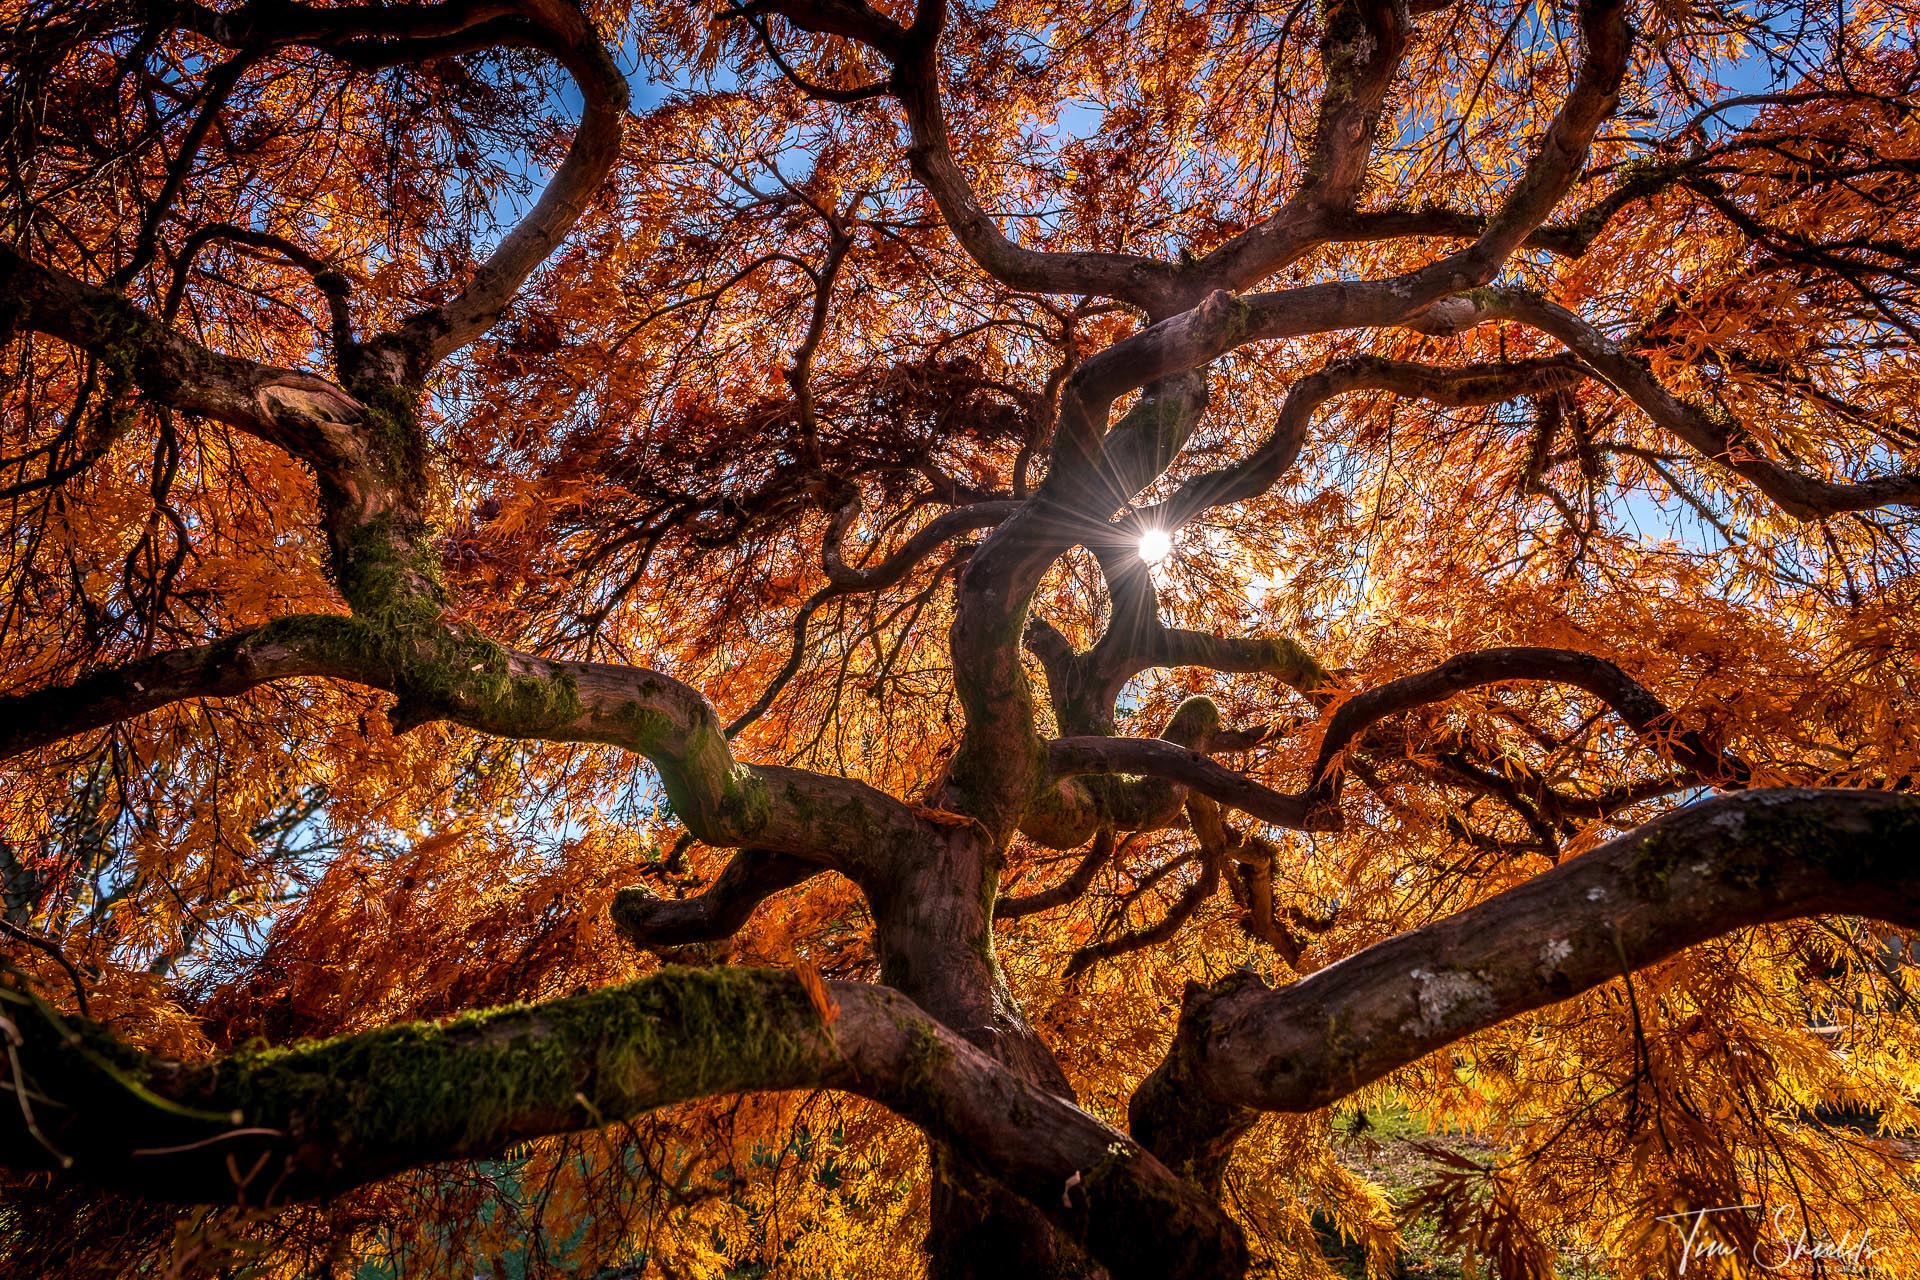
My latest camera acquisition was the Nikon D850, which has been an incredible camera, but it didn’t make me a better photographer. In fact, some of my best work was taken with a Nikon D90 (like the image above) camera from 2008.
It had a 12-megapixel sensor and was advertised as one of the first DSLR cameras that could record video with sound. It couldn’t even keep up with the cheapest entry-level cameras on the market today.
Since the Nikon D850 is a DSLR, and all camera companies are switching over to manufacturing mirrorless cameras, this incredible camera can be found incredibly cheap. It’s still one of the best cameras that has ever been made, even though it was first released in 2017. Find it on B&H here.
Gear is a distraction from actually learning how to take great nature photos
The problem with the gear talk is that it distracts photographers from the real, tangible reasons that some photographs are better than others.
Megapixels and sharpness are cool, but composition, technique, and planning will make a larger difference in the outcome of your photographs.
Planning your photograph means planning where you are going to set up your tripod before you even get there.
Some planning is easier than others — for example, if you want to capture golden dunes like those above, all you have to do is plan to go find a good location before golden hour and wait for just the right light.
Professional landscape photography doesn’t happen by accident
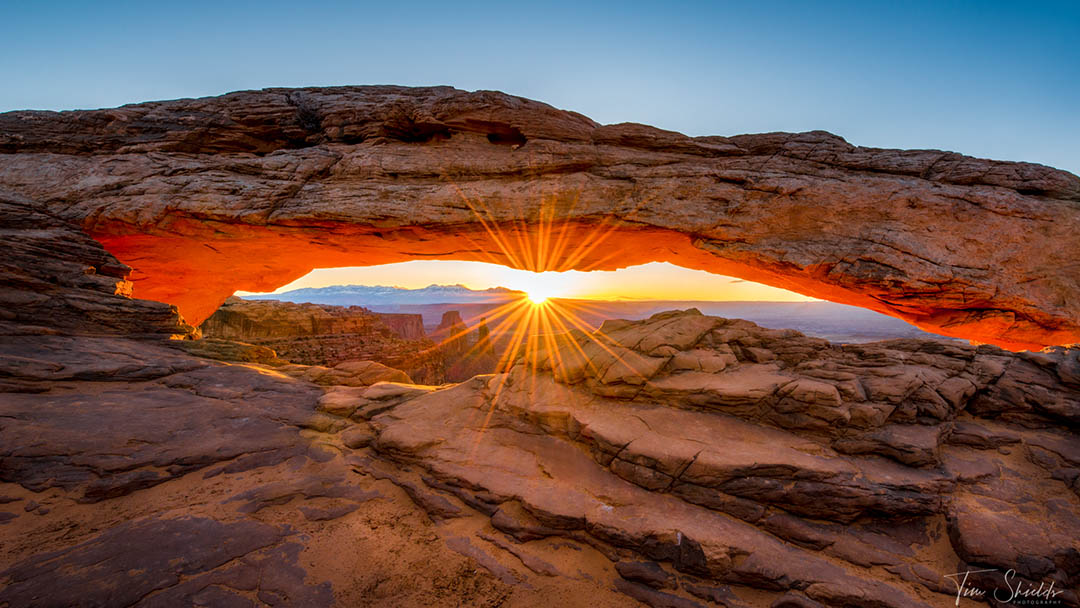
But to capture stunning landscape photos like the sunset on Seceda, or the sunrise lighting up the underside of the Mesa Arch, you will have to plan for a specific day of the year to get that image just right.
Photographs like these don’t happen by accident. No photographer who makes their living off of photography travels across the world to take a chance at capturing the image just right.
Planning photographs and going out to take them will make you a far better landscape photographer than purchasing new gear ever will.
I remember coming back to the same location after learning how to plan my images, and the difference was palpable.
My suggestion: get whatever wide angle lenses and telephoto that you can afford, and get out and take photographs.
Going outside, practicing, and developing your own photography style will always make a much bigger difference than your gear will ever be able to.
4. Highlight the subject of your image
Perhaps the biggest challenge that most photographers have is knowing how to make their subject pop off the screen.
Highlighting the subject means using light to make the subject brighter while darkening the distractions in the scene.
The fact is, RAW images are often bland. They are designed to capture flat images so photographers can edit those photographs however they wish.
In Adobe Lightroom Classic CC, I often use local adjustment brushes to brighten (or dodge as they would say in the film days) the parts of the image where I want the viewer to look.

Why landscape photographers love dodge and burn
I will then burn, or darken, the distracting elements, like parking lots, or the edges of the frame that are taking away the viewer’s attention.
In the final image, the subject will have a spotlight on them that brings the viewer in and gives them something that holds their attention longer.
Textures, like rock features, grass, or mountains in the background of an image, are all great elements that will keep a viewer’s attention for a long time when they get up close and personal to an image.
So highlighting those features will go a long way towards making successful images — especially on social media, where every second and action are being tracked.

5. Learn from an expert
This was the hardest lesson to learn at first. But getting help from experts is really what propelled my photography and allowed me to become the professional I am today. In my case, I was lucky enough to find a mentor who would take me on long journeys to go out and take photos and critiqued my work along the way.
Before working with my mentor, I had no idea what I didn’t know. I didn’t know what questions I needed to be asking — all I knew is little, incomplete pieces that I had learned on forums, YouTube, and other sites on the Internet. I thought I knew everything, but my photos for the first 30 years were always amateur and lacked that special something that made a snapshot into fine art.
But working with another professional photographer jumpstarted that process. After only going into the field with my mentor a few times, I was able to start taking fine art panorama images. I still remember that feeling the first time I printed an image that my wife wanted to hang on the wall. And even better yet was the day when a customer bought my first print. These were major stepping stones that could have
taken another 30 years to get right — and that’s just time that I didn’t have.
That’s why I put so much work into creating these blog posts and teaching students.As of the time this article is published, I have helped over 370,000 photographers with my courses and guides.
If you want to achieve your goals in photography, whether that’s simply printing your photographs, selling your work, or winning awards at competitions, the absolute quickest path to success is to hire an expert.

Transform your photography
 The best class I have ever offered is the Photography Transformation Masterclass. This is the most complete set of lessons for any photographer. It is my best-selling bundle of all time because it offers absolutely everything you need to accelerate your progress.
The Photography Transformation Masterclass comes with lifetime access and a 30-day money-back guarantee that you will improve your photography. See the student reviews of this course here, or on Google!